Note: Riftgrate is no longer being hosted live, if you find a dead link to Riftgrate (or any other site) please do let me know so I can replace it with a working link. Thank you and Happy Hunting!
The difficulty level for this puzzle is ‘somebody shoot me now’ This is a puzzle you will only want to do once, twice if you count duo mode. For those die hard farmers who choose this puzzle as their farming spot.. I salute you! This puzzle is a multi-layered nightmare that will drive even the calmest person insane. if you are here for help.. I will try!
When you do this puzzle for the first time you will need to make sure you have plenty of time to complete it. When you have had plenty of practice at this puzzle you will able to do the whole thing in around 20 minutes. But your first few attempts will likely take much longer.
The traps are the first half of the puzzle and the platforms are the second half. On your first attempt if you complete the traps and then fall from the platforms, you will need to redo the traps. If you fall and land on another platform or on the wires that are part of the traps then you will be able to continue again from that point. But if you fall and hit the floor, that is counted as a reset of your attempt and you will need to start all over again.
This guide has written explanations of each section of the puzzle followed by videos to show you how it’s all done.
Part One - The First Rope + Fiery Gates of Hell + Spin to Make You Sick Bridge
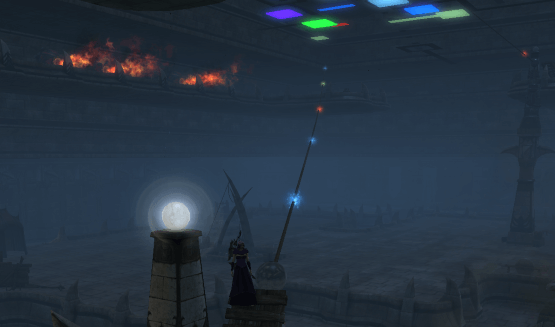
The rope has coloured orbs travelling along it towards you.. If you cannot see the coloured orbs, lower your graphics settings and keep lowering them until you can see them!
Clicking the shiny white orb on top of the pillar next to the start ramp will change your action bar into a special one for the ropes..
The Ropes....what fun!
Clicking each of these abilities will give you a ‘shield’ that will allow you to travel over the different coloured orbs. Jumping over the orbs does not protect you from them!
‘Simply’ click the red shield when a red orb is front of you, the blue shield for a blue orb etc.. while moving up the rope!
As you can see, the red shield is linked to button 1 on your keyboard, your green shield to button 2 and the blue to button 3.
I recommend that you keep your fingers poised and ready to press on those 3 buttons and use your mouse to move your character up the rope. Clicking both left and right mouse buttons together moves you forward, turn the mouse to turn your character.
The orbs move down the rope in a repeating pattern, if you are finding it difficult to switch shields quickly enough, look for the pattern and pre-empt it. There is usually a group of 2 or 3 same coloured orbs that is easy to look out for and shows you the start of each pattern.
The pattern will only change if you reset the dungeon using the lever by Simons desk or exit the dungeon for longer than 15 mins.
When you reach the top jump off the rope asap onto the platform.
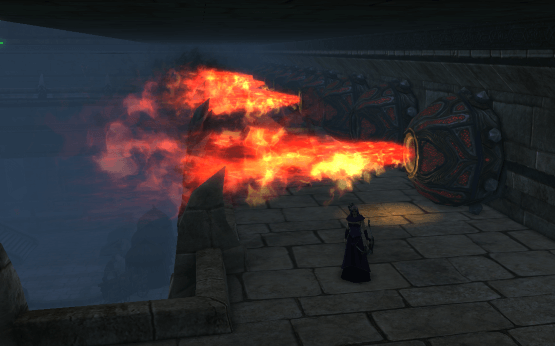
Fire is bad
The aim here is to run through this section without getting hit by the fire. If you do get hit by the fire, you will be ported back to the beginning of this section.
Have patience.. take your time, watch the flames 2 or 3 ahead as well as the one right in front of you. Be VERY careful when you are stood waiting between the flames, the one behind you may be closer than you think!
The Fiery Gates of Hell
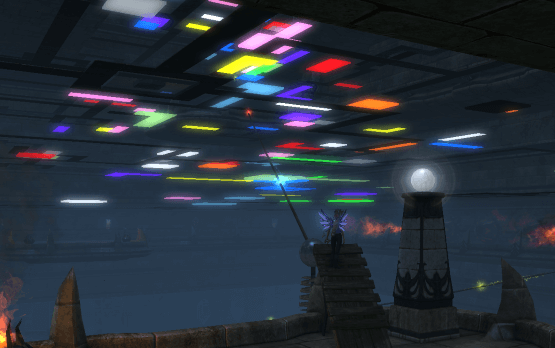
The Spin to Make You Sick Bridge
Obviously a still picture doesn’t do it justice.. The trick here is to make it across the rope without throwing up or falling down.
If you do fall down, you will be ported back to the entrance of the spinning bridge.
If you suffer from vertigo or motion sickness, this is gonna be painful. (Simon is mean)
Tips to help.. Look straight down at the rope and take it slow. Find two bits of dark paper and hang them over your screen, blocking out most of the spinning tunnel but still allowing you to see the rope.
Proper cheating tip: When you fall off and get ported back to the start of the bridge you will spawn facing the exact direction you need to run. Just hit NUMLOCK, your character should effortlessly walk across.
Here is a video of the first section of traps..
Part Two - The Second Rope + Spinning Blades of Pain
The second rope works exactly the same way as the first rope.. Just with much less of a field of view due to the floating shapes.
For Spinning Blades of Pain, you just need to run through the area without a blade hitting you. A nice way around this section of the puzzle is to face the end wall, press numlock (autorun) and then go make yourself a nice cup of tea. By the time you get back, it is likely that your char would have made their way across by themselves!
You have now reached the end of the traps!
Clicking the lever in front of you will disable all the ‘traps’ up to this point, so if you fall from the platforms ahead, you dont have to redo the traps half of the puzzle again! – If however this is your first attempt at the puzzle then you WILL need to redo the traps again, from the beginning as falling down to the floor will reset your ‘try’
Here is a video of the second section of traps..
Part Three - The Platforms
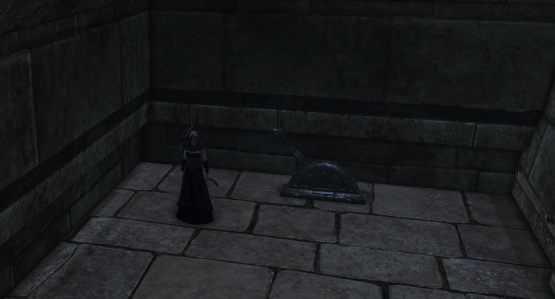
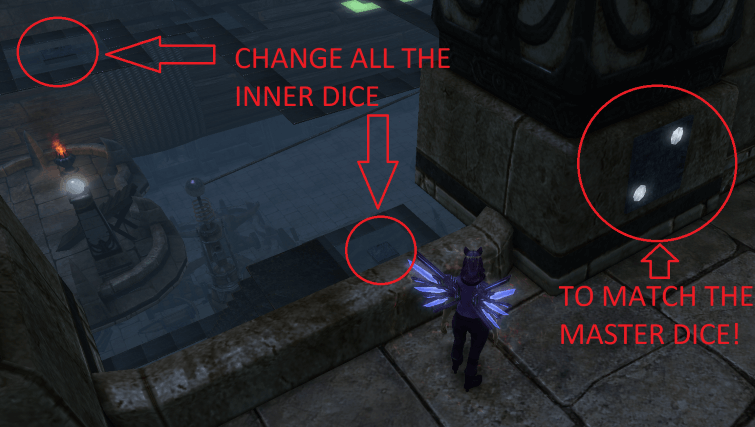
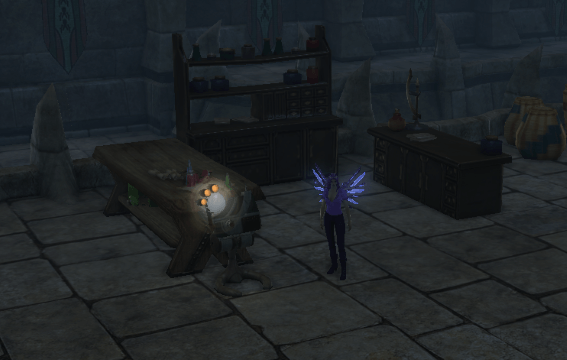
You will notice to your right as you face the lever that switches off the traps, there is a set of stairs leading down.. BEFORE YOU GO DOWN THE STAIRS, there is a dice to the right of the stairway entrance with a static number on it. You must take note of this number and change all the dice in the middle of each square platform to that number. The number is different each run, so make sure you check what it is!
To go down the first set of stairs without falling, you have two options, either go down them backwards, or press / to switch to walking speed.
When you first do the platforms, it is recommended that you stay in ‘walking’ mode (press / to switch between walking and running). If you fall from these platforms on your first attempts you will have to redo the whole puzzle including the traps. Some people may find it easier to use ‘click to move’ (found in settings>interface>misc) but the accuracy of this may be temperamental, especially when going round corners. As a rogue with the riftstalker flashback ability, I often drop a memory capture point every so often, so if I fall I can quickly flashback to that spot again.
Upon arriving at each platform, you must go to each dice and change the number first, then go back to the correct lever and pull it to open the portal to the next platform.
On platform 2, change all the dice first, then pull the lever to platform 4, then pull the lever to platform 3, the portal for platform 3 should be right next to you, once on platform 3, change the dice, then drop back down to platform 2, you should then be near the platform 4 portal, which you already activated 🙂
All the other platforms just have one specific lever to open one specific portal. There are other ‘dud’ levers, don’t bother with them.
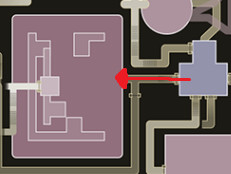
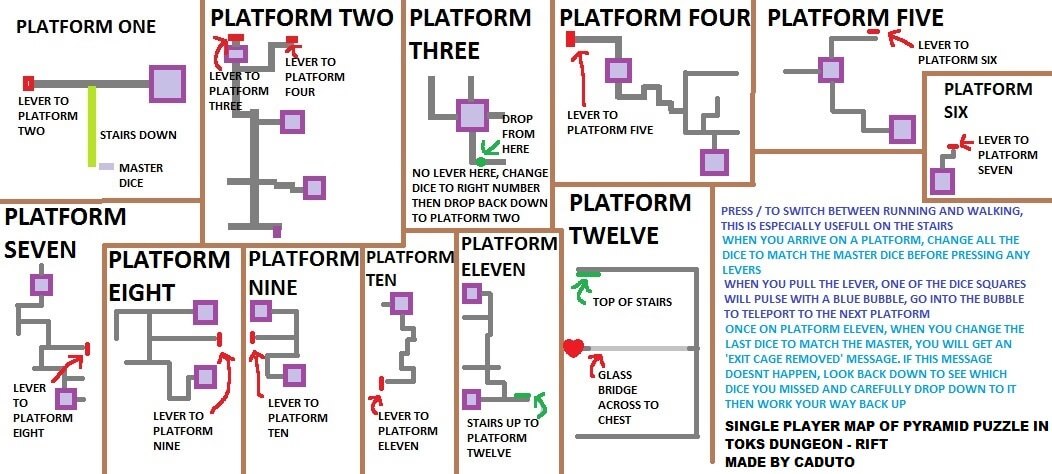
Here I have made a map to show you the correct lever to pull on each platform. When you have changed the dice and then clicked the lever one of the dice platforms will have a pulsing blue bubble, go to that bubble and stand in it to be teleported to the next platform.
Platform Layout for Pyramid Puzzle in Solo Mode
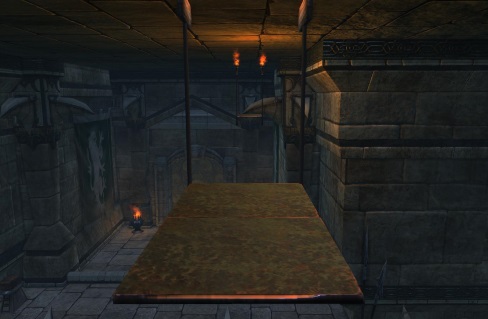
The glass bridge at the top, though it looks like there is no way across and surely there must be more puzzling to do? there isnt.. it is in fact a glass bridge.. just walk across!
Here is a video of the entire platform route.
Newfangled Teleportation Device
Once you have completed the pyramid puzzle for the first time, you will be able to click a new teleport button called the ‘Newfangled Teleportation Device’ (Click the white orb to use it)
This takes you straight up to the lever to disable all the traps. This is GREAT for hunting the artifact Tok chests for the weekly you have now unlocked from completing the pyramid puzzle.
This orb can also be useful during subsequent puzzle attempts.
Every attempt to complete the puzzle to get the reward chest, requires you to complete both the traps section and the upper platforms. The orb is there so that you do not have to repeat the traps section every time you fall from the platforms after completing the traps.
On your very FIRST completion of the puzzle, falling to the ground will reset all the traps and you will have to do the whole puzzle including the traps again. If however you fall and land on another platform or the ropes instead of the floor then the traps will stay switched off and you can continue from that point without having to completely start over.
On any subsequent attempts of the puzzle: When you have done the traps you need to pull the shut off lever and this then acts like a checkpoint. If you fall to the ground after turning off the traps then you can use the white orb to get back to your ‘checkpoint’ and try the platforms again. A full run will only be counted if the trap shut off lever is pulled/used BEFORE the white orb is used. On duo mode, only one players needs to complete the traps and then pull the lever to turn them off, the other player can then run through the inactive traps, or use the white orb to get up.
Pyramid - Duo
In duo mode, the first half of the pyramid is the same, up to the shut off lever. The bonus is that only one of you needs to complete the traps! The first player to reach the shut off lever can pull the lever and turn off the traps for the other player.
There is still a master dice, you still need to change all the other dice to match the master dice.
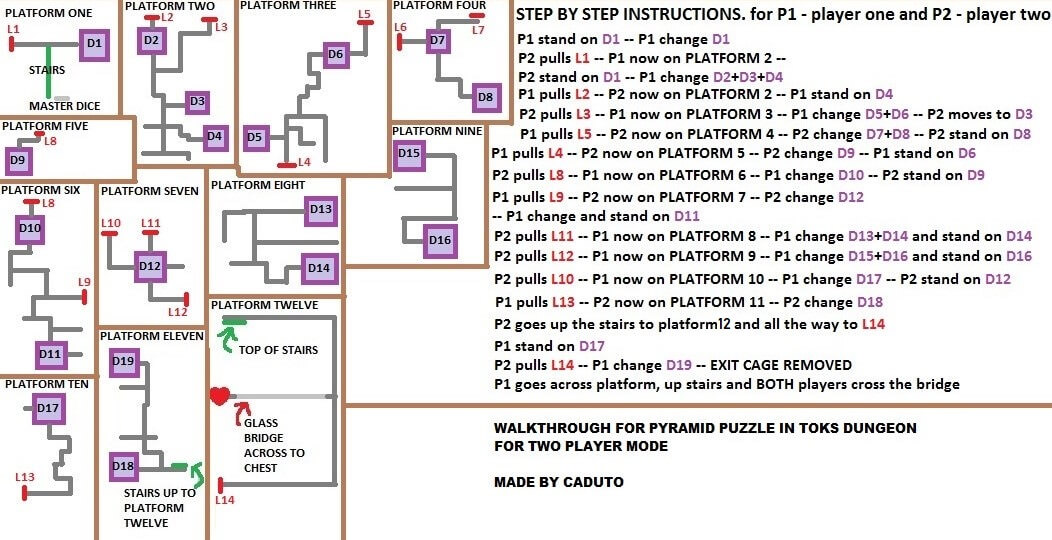
Here is a picture walkthrough for two player pyramid puzzle..
Platform Layout for Pyramid Puzzle in Duo Mode
Each dice is labelled with D1, D2 etc
Each lever is labelled with L1, L2 etc
Just follow the directions and you will make it.
In the video, CADUTOCIMM is player 1 and CADUTO is player 2