Number of Standard bosses: 5 Level of Standard bosses: 57-60 Number of Expert bosses: 5 Level of Expert bosses: 62
Solo at 70?: Yes All cheevos while solo?: Yes
A level 70 player can easily kill everything in this dungeon. This guide is mainly designed to show you how to get the cheevos and do the quests. If the content becomes ‘relevant’ again then I will expand the boss guides as needed and add more detail.
Trash before the first boss
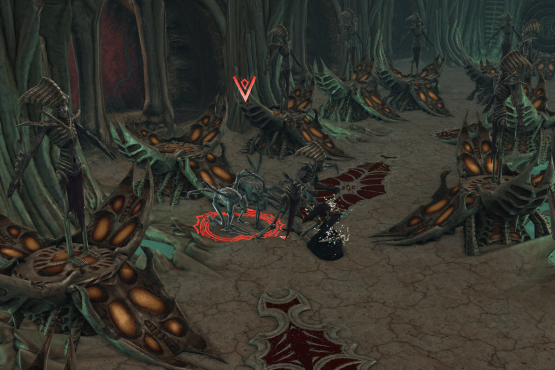
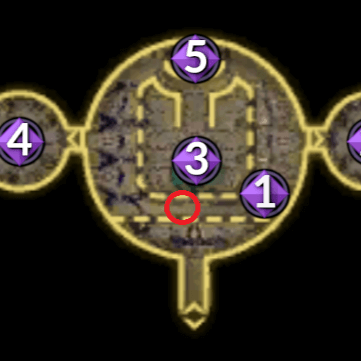
When you first enter the instance you will be in a room with a circle of platforms. Each of the platforms has a ‘Shaper mob’ standing on it. As you go near them, some of them will activate and bring a group of adds to attack you. After you have killed the first Shaper mob trash pack, Tzul will jump down and start patrolling the area, he has beams of lights coming out of his eyes, if you get caught in these beams of lights then you will die.
Carefully make your way around the circle to find the 4 Shaper mobs that will activate, go back around the other way if Tzul gets in the way. Once you have found and killed the 4 shaper mobs and the adds, Tzul will go back up and you can also go up to the balcony area to kill him.
Note: High level groups won’t be killed by Tzul’s beams of light, but he does an annoying stun too which you will likely want to avoid as it slows you down a lot!
Activate the 4 Shapers by getting close to them and then kill them!
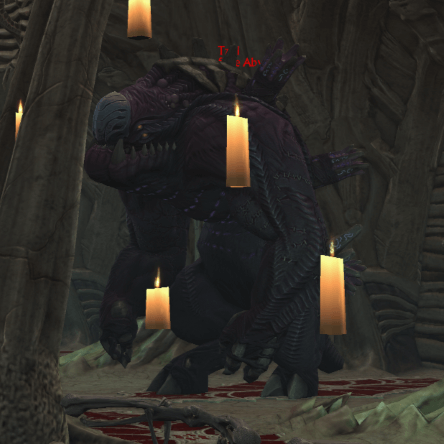
Boss 1 - Tzul
- Normal Mode + Expert Mode
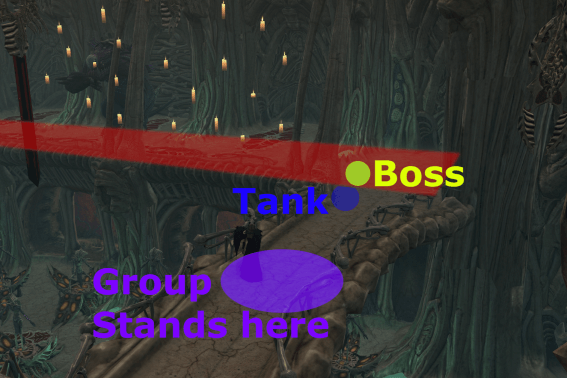
Go up the slope and head left onto the balcony to avoid agroing the boss early.
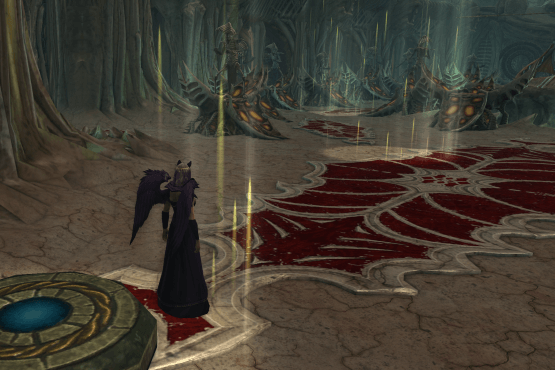
This fight is all about positioning the boss and the group perfectly. The tank needs to hold the boss just on the edge of the red near the walls, so the boss is in the red but the tank is not. The group should stand at range on the bridge, being sure to rupt Heighten Panic and moving out of purple circles.
The main mechanic of this fight is the Bone Shrapnel that comes off the walls every 7 seconds. The walls will explode with Bone Shrapnel and it will hit everyone in the red, including the boss. Players will get a debuff of ‘Bone Shrapnel’ that will increase incoming damage by 50%, this is pretty deadly to a low level player. The boss starts the fight with 4 stacks of a shield buff called ‘Statis Hardened Husk‘. Each stack of the shield reduces his damage taken by 25%, each time Bone Shrapnel hits the boss it will remove one stack of this buff. Thus you need to have the boss be hit by Bone Shrapnel 4 times to completely remove this buff. Once the shield buff is gone, getting hit by Bone Shrapnel will now give the boss a debuff, each stack will cause him to take 25% more damage.
There are also a few other abilities to be aware of..
Berserk – A stacking buff that the boss gains that increases his damage by 10% per stack, your group will need to kill the boss before this stack gets too high and your tank goes splat.
Heighten Panic – A 3 second casted ability that will ‘fear’ nearby players, this can be deadly, interrupt it!
Wall of Infinite Agony – A 7 seconds cast, so plenty of warning time! A purple circle emanates from the boss, anyone still stood in it at the end of the cast will die!
Tzul
Trash before the second boss
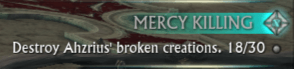
Head straight to the entrance of the second bosses lair. The mini quest ‘Mercy Killing’ will start.
Monsters will rush out of the tunnel, you need to kill 30 of them, about 40 will spawn. Doing this doesn’t award much extra, but they do have a chance of dropping the dungeon artifacts.
If you don’t manage to kill all 30, don’t worry, the dungeon will still progress as normal.
Kill them all!
Boss 2 - Vorka
- Normal Mode + Expert Mode
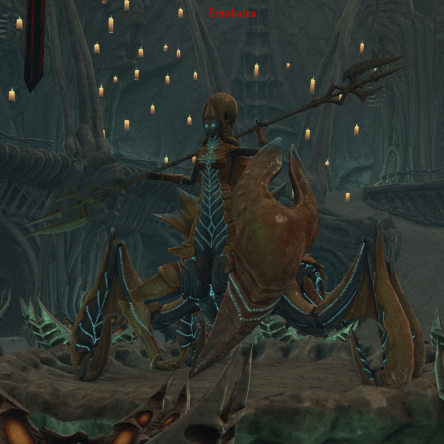
Vorka is in a small enclosed room. Around the room are 4 levers, the tank should hold Vorka in the middle of the room while the rest of the group chooses a lever each to stand next to. Every 20 seconds 2 of the levers will gain a green aoe around them and become clickable. The group members stood near the 2 glowing levers need to click them asap. If they are not clicked then the whole group will get hit by ‘Degenerative Fluid’, this is very painful for a low level group.
Frightened Experiment – Every 20 seconds an add will spawn, this add needs to killed ASAP. 2 seconds after the add spawns, Vorka willleap to the add and start channelling ‘Devour the Weak’.
Devour the Weak – Channelled for 10 seconds, each second the boss removes 10% of the adds health and gains a stack of ‘Gorged’. Each stack of Gorged will increase the bosses damage by 3%. Thus you need to DPS the add down as much as you can to limit the stacks of Gorged that the boss gains.
Enfeebling Cloud – Deals AoE damage to the whole group. The damage increases as Vorka gains more stacks of Gorged. Also applies a stacking debuff that reduces the groups max health by 5% per stack.
Vorka
The Lights!
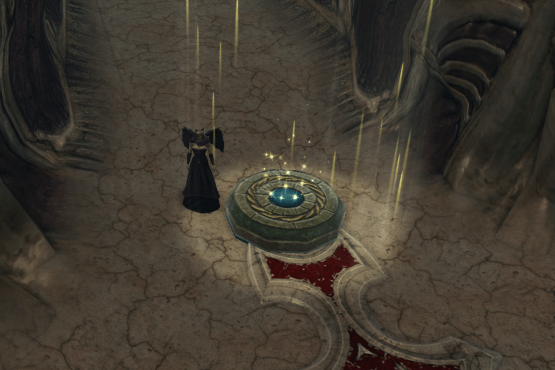
Jump back down to the lower floor and head towards the entrance, here you will find a circular stone lit up by a beam of light.
When you click the stone, the room will be filled with a ‘creeping Darkness’. Anyone not stood in a beam of light will be damaged by the creeping Darkness. The group all needs to stand in the beam of light.
A second light beam will spawn a short distance along the path, the group should move to it as the first light will disappear! Continue along the path, following the light beams as they light up in front of you. Trash mobs will spawn and attack you as you go around the room, these adds will dish out stuns which will slow down your group, especially the tank. Be sure to keep your tank healed up and kill the trash.
There is a second stone to click about halfway around, just off the path near the slope up to the balcony. You will only be able to click the stone when the beam of light is on it, or the creeping darkness with rupt you.
Once you have followed the light around and clicked the last stone the next boss will spawn.
The first stone
Stay in the lights!
Boss 3 - Emphalea
- Normal Mode + Expert Mode
The main ability you need to watch for is ‘Flood the Halls‘ This is a 5 second long cast, at the end of it Emphalea will flood the room with swirling water. You need to be stood on one of the pedestals to avoid being killed!
Javelin Barrage – The boss spams this constantly on the tank. Just heal through it.
Barnacle Encrusted Trident – Targets a random player and throws a Trident at them dealing splash damage.
Aquatic Evocation – Places a blue bubble on top of a pedestal, if you stand in the bubble then you will be knocked back and take damage.. this is why you can’t just stand on the pedestals for the whole fight! (Unless you are super OP of course).
Depth Charge – Blue orbs will travel outward from the boss. If they hit you then you die. This starts with 3 orbs and increases by 3 each time it is cast.
Be aware that at level 70 you may kill the boss ‘too quickly’ and bug the instance.. let the boss get a few attacks off before you kill her!
Emphalea
Boss 4 - Cahail
- Normal Mode + Expert Mode
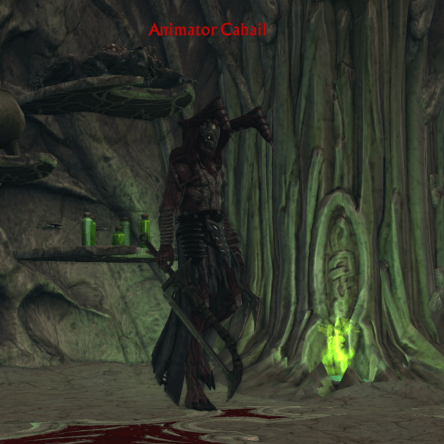
The main ability you need to watch for is ‘Frenzied Embrace‘. Orange pulsing circles spawn on the floor which you need to move out of quickly before they start burning. The lower the bosses health, the more circles will spawn, this will make it much more difficult to find safe spots towards the end of the fight.
Stygian Fissure – A 3 second cast followed by a 3 second channel, the channel can be interrupted. – Deals damage to anyone in front of the boss. If you don’t interrupt the channel then an add will spawn.
Reform Anatomy – Cast on a random player – Deals splash damage around the targeted player, anyone hit by this damage will be given a snare debuff that will need to be cleansed asap so players can move out of the bad.
Monstrous Remodeling – Priority to interrupt – This will put a debuff on the whole party that will slow everyone. Don’t let him cast this!
Cahail
Boss 5 - Ahzrius
- Normal Mode + Expert Mode
The boss has a few abilities..
Morphic Wave – The cast lasts 3 seconds and can be interrupted. Each time the cast completes the boss will gain a stack of ‘Morphic Wave’. If the boss reaches 4 stacks then the boss will teleport and cast ‘Wave of Mutilation’. – When you interrupt a cast it will clear all the stacks of Morphic Wave. – Thus this spell should be interrupted when the boss has 2 or 3 stacks.
Drastic Renovations – A purple circle around the boss, be in the purple of die!
Child of Ahzrius – Every 10 seconds 2 adds will spawn, these can be cleaved down with the boss with normal DPS, or you can wait for a player to kill them with ‘Genetic Alteration’ (see below). When the adds die they will drop a white circle, players standing in the white will be drained of mana/energy. Standing in the white will also heal the boss. — Don’t stand in the white!
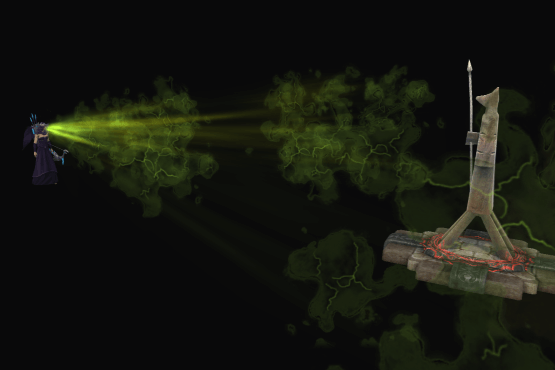
Genetic Alteration – Places a debuff on a random player. After 2 seconds the player will ‘throw up’ in a cone of green in front of them. This green cone will kill any of the adds caught inside, however it does also hurt other players, so be careful with it!
Unbridled Mutation – Places a DoT on a random player that spreads to nearby players. Ticks damage for 5 seconds.
And then, the teleport mechanic..
Unnatural Selection – Every 90 seconds Ahzrius will teleport 2 random players to the small rooms that boss 2 and 4 were in. Bear in mind that the tank can also be teleported! The boss is ‘inactive’ during the Unnatural Selection cast, he will stop casting when both players make it back to the main room. If your tank was teleported then they will need to rush back to the boss and taunt quickly to avoid damage to the non-tank players. – Note the adds will still be active, so the remaining group members will still need to deal with them.
In Vorka’s room – The player will need to click any levers that turn green and clickable, once 4 levers have been clicked a blue portal will open to allow the player back into the main area to re-join the fight.
In Cahail’s room – The player will need to dodge the circles on the floor. Once 4 sets of circles have been avoided a blue portal will open to allow the player back into the main area to re-join the fight.
Ahzrius
Neutral Quests
This quest is available for Archive of Flesh and is for Guardian and Defiant Characters.
Tour the Archive
Normal mode Archive of Flesh PICK UP: The quest is picked up from Itoi Rinu in Tempest Bay at /setwaypoint 12925 11518 TO COMPLETE: Enter the Archive of Flesh
This quest will autocomplete as soon as you enter the Archive of Flesh dungeon.
Achievements Available
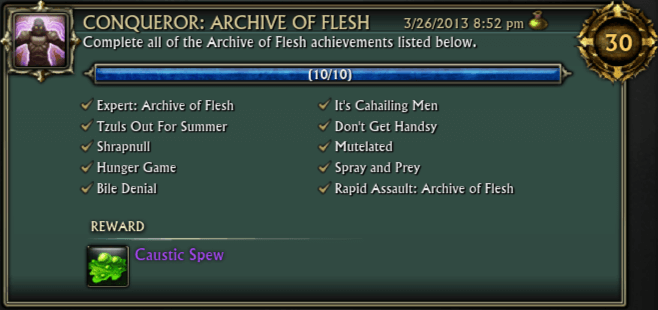
Conqueror: Archive of Flesh
Complete all the cheevos in Archive of Flesh
This cheevo awards the ‘Caustic Spew’ trinket.
To use it, equip it to your character, then drag it to an action bar, click the action bar button to use it.
Using the trinket will Spew Toxic Bile towards your target. It does very little damage, it’s just a fluff item.
Expert: Archive of Flesh
Defeat all the bosses in Archive of Flesh on expert difficulty
Standard: Archive of Flesh
Defeat all the bosses in Archive of Flesh on standard difficulty
Rapid Assault: Archive of Flesh
Defeat all the bosses in Archive of Flesh on expert difficulty within 20 minutes
Tzul
Shrapnull
Make sure the group, especially the tank, stays away from the walls to avoid being hit by Bone Shrapnel.
Tzuls Out For Summer
Kill him quick!
Vorka
Hunger Game
Kill Vorka very quickly and DPS down the add too!
Bile Denial
Ensure the levers are clicked as soon as they are active.
Cahail
Don't Get Handsy
Don’t get hit by the circles on the floor! Way back when this content was new, players tried many ‘safe spots’ by climbing up the wall in this room. Many of these safe spots were then fixed, though some may still remain. Of course as a level 70 you can just blitz this boss down asap!
It's Cahailing Men
Don’t interrupt the Stygian Fissure ability to allow the Constructs to spawn.. when 4 are alive, kill the boss! Be careful not to accidentally kill the constructs with aoe/splash damage.
Ahzrius
Spray and Prey
Ahzrius spawns 2 of the adds every 10 seconds. allow the player who gets the Genetic Alteration debuff to kill them with the green spray. This will take just under 2 minutes, but allow a few extra just in case some of the adds ‘died’ (final shot) from accidental splash or aoe.
Mutelated
Be sure to interrupt the Morphic Wave cast before he reaches 4 stacks of Morphic Wave so he doesn’t cast Wave of Mutilation.
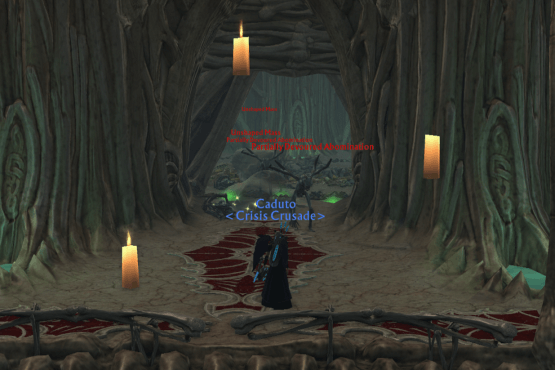
The Sinister Presence
Archive of Nightmares
The Sinister Presence is on the bridge above the main room. /setwaypoint 386 457 Kill the Tormented Horror to spawn the Sinister Presence and then kill it.
Note: The Tormented Horror is only there after the third boss, Emphalea, is killed.