Number of Standard bosses: 3 Level of Standard bosses: 38-47 Number of Expert bosses: 5 Level of Expert bosses: 52
Solo at 70?: Yes All cheevos while solo?: Yes (You will need at least 2 players for the quest)
A level 70 player can easily one shot everything in this dungeon. This guide is mainly designed to show you how to get the cheevos and do the quests. If the content becomes ‘relevant’ again then I will expand the boss guides as needed and add more detail.
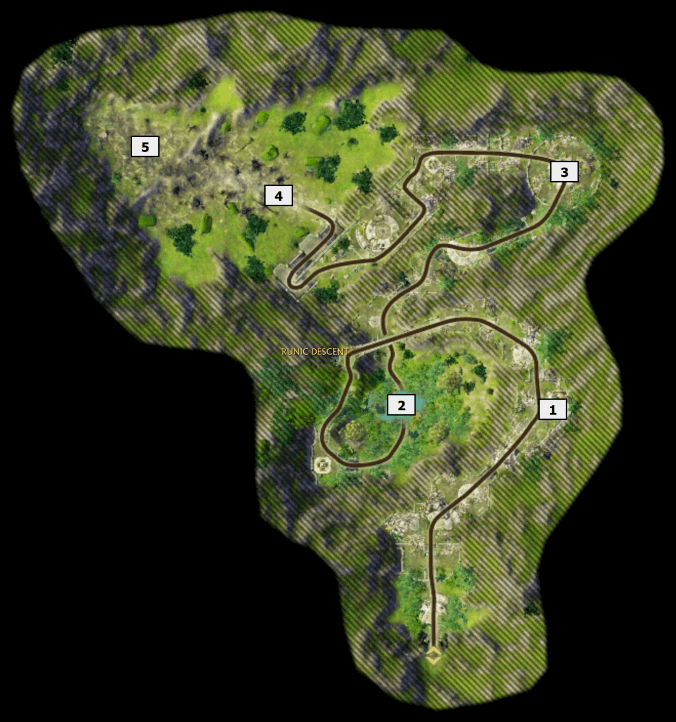
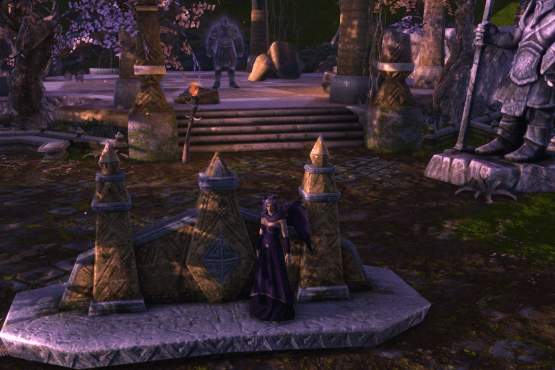
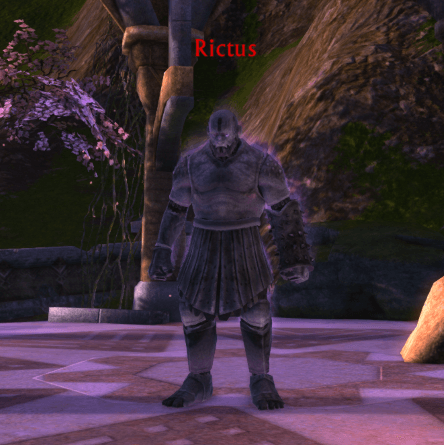
Boss 1 - Rictus
- Normal Mode + Expert Mode
The tank should pull the boss to the stairs at the edge of the platform while the DPS and heals stands behind the small wall nearby. DPS can hit the boss over the wall, but the wall will prevent them from being pulled to the boss. He will periodically cast ‘Rotting Flesh’ on players, this will place a painful AOE on the ground and slow the player making it difficult to move out. The player will then have a DoT that will need to be cleansed or they will deal damage to the group. You can see which player has been targeted and that player can move out from the group to prevent a lot of damage. This is only necessary on low level groups!
Rictus
Boss 2 - Wormwood
- Normal Mode + Expert Mode
Tank the boss in the middle of the area, DPS and heals should spread out to make it easier to avoid the Rotting Blossoms that will spawn on players. Wormwood will randomly kick to knockback the tank (Wormwoods fierce stomp), the tank will need to kite Wormwood back and forth, avoiding the Rotting Blossoms.
Rotting Blossoms will spawn on random players and deal constant AoE damage while they are up and then an AoE damage explosion when they explode, this explosion hits anyone within 15m.
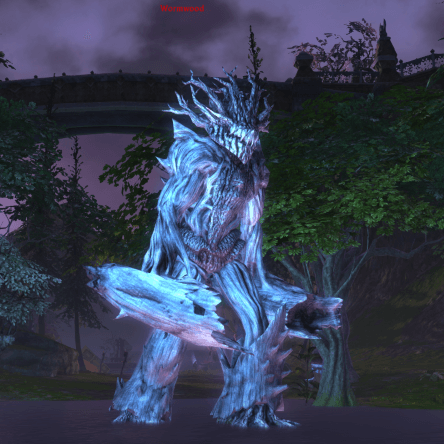
Wormwood
Boss 3 - Warden Falidor
- Normal Mode + Expert Mode
Tank should hold Warden with his back against the wall to negate the knockback that he does. Warden will cast Glacial Shield which is a reflective shield that will damage anyone who attacks, stop attacking while the shield is up. Warden will periodically cast ‘Cursed Wave’, DPS should hide behind one of the pillars til the cast is finished. He will spawn adds called ‘Arctic Revenant’s’, you can AoE/Cleave dps these down.
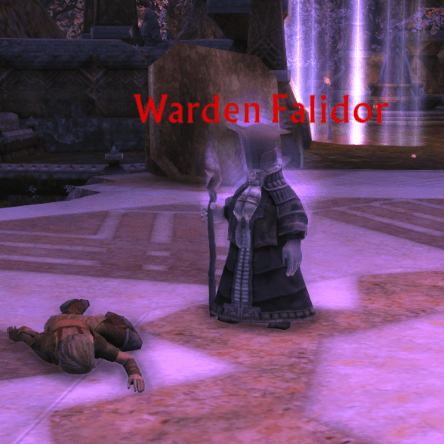
Warden Falidor
Boss 4 - Atrophinius the Fallen
- Expert Mode
Leading up to Atrophinius are two braziers, you will want to lead Atrophinius to them and have the tank with Atrophinius at one brazier while the DPS/heals stays at the other one. Clear out all the trash from the area before you pull the boss.
Atrophinius will cast Death Rite. The DPS will need to LOS the boss by hiding behind their brazier, while the tank LOS behind his own brazier, at the end of the cast the boss will explode anyone not out of sight will die (in a low level group)
When Atrophinius reaches 50% health he will spawn two adds, these adds should be grabbed by the DPS and killed while they are hiding behind the pillar during Death Rite casts. Low level groups may want to add an off-tank or a support healer to help while the adds are up.
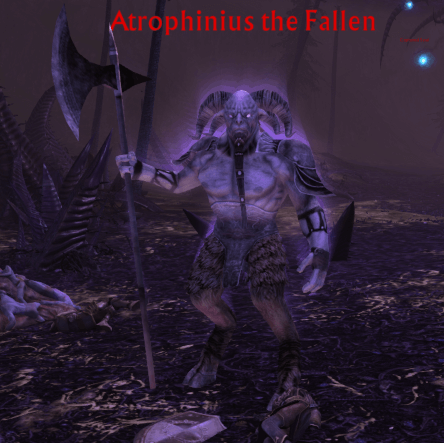
Atrophinius the Fallen
Boss 5 - Eliam the Corrupted
- Expert Mode
This boss is at the end of a rift within the instance. Head up the hill to find the death rift and complete all the stages to make the boss spawn.
Stage 1: Alsbeth threatens you. Stage 2: Gather everything up and AoE it down! Stage 3: Kill the Faerie Mender first, interrupting her healing casts if possible. Then kill the flying fae and finally the Satyrs.
Stage 4 : Eliam the Corrupted. — Eliam will cast ‘Blinding Darkness’ The whole group will need to turn away from the boss until the cast is finished, or they will be stunned and damaged. — Eliam will enrage and start to move very slowly while hitting very hard, the tank will need to slowly kite him around the middle of the rift area. — After the enrage is finished, Eliam will move to the middle of the rift and summon some adds, each enrage increases the number of adds, 2, then 4, then 7. These adds need to be kept separate and killed asap. The tank should not try to gather them up as they will be buffed if they are close to each other. DPS should spread out before they spawn and then attack the adds closest to them until they are all dead. — Eliam will cast ‘Torment’ on a random player, this is a DoT that will hurt any other players they are near.. stay spread out! — Move out of the fire AoE that Eliam places on random players.
Eliam the Corrupted
Defiant Quests
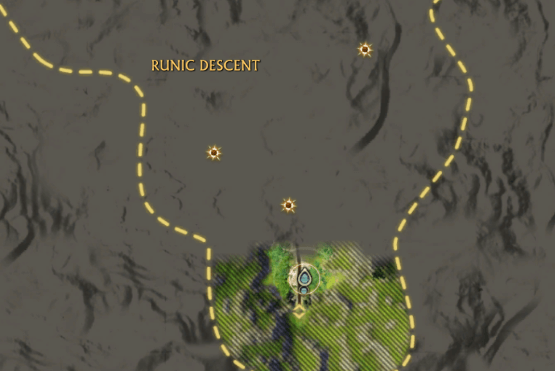
These quests are available in Runic Descent and are for Defiant Characters only. To be able to see/pick up the quests, the instance needs to be a ‘Defiant Version’ this means that the group leader or the first player to enter needs to be a Defiant.
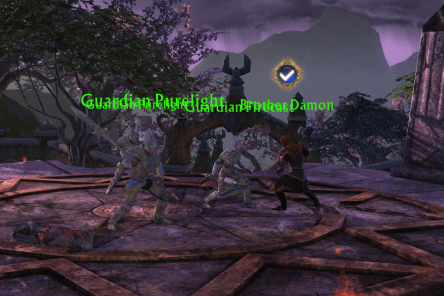
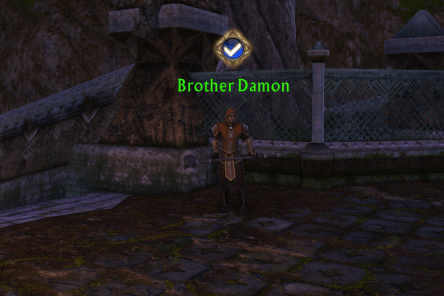
QUEST: A Dark Garden (Normal mode Runic Descent) PICK UP: The quest is picked up from Kip Bayne in Orphiel’s Spire, Meridian at /setwaypoint 5980 5133 (top floor) TO COMPLETE: Find Brother Damon in the Runic Descent
Enter the Runic Descent Dungeon and find Brother Damon near the entrance. /setwaypoint 1114 1351 Hand in the quest.
QUEST: Cracking the Secret (Normal mode Runic Descent) – (This quest requires at least 2 people to complete – Some people can do it solo with clever use of the Pet:Stay ability) PICK UP: The quest is picked up from Brother Damon in Runic Descent at /setwaypoint 1114 1351 TO COMPLETE: Defeat Rune Cracked Spirits x3
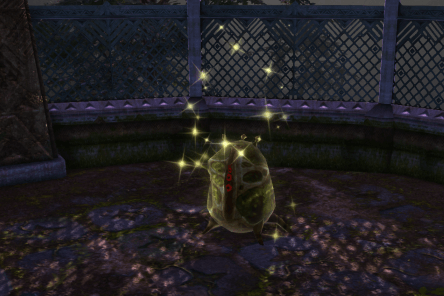
The locations for the Rune Cracked Spirits are marked on your map, work your way through the dungeon and Defeat each Rune Cracked Spirit as you go.. each Sprit is trapped inside a Rune, how to open/click the runes is explained below.
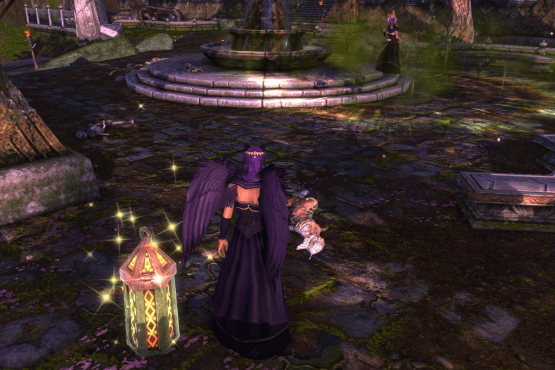
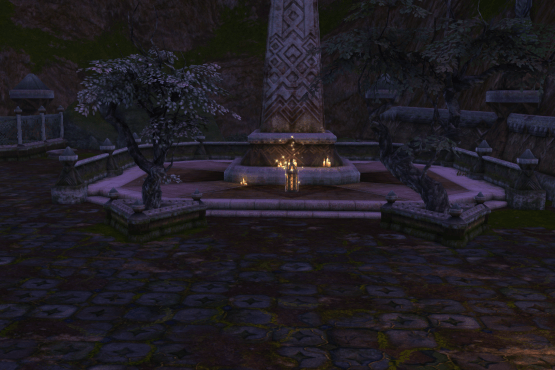
The first Rune is just the left as you go down the slope from the entrance. There is a small squarish area with a fountain in the middle and rune on the other side. As you and your group enter the square you will be targeted with a damaging ground AoE spell. The spell will hit players randomly, drop on the floor below them and stay for a few seconds ticking damage on whoever is stood inside. The damage is not enough to kill you, but it will interrupt the player that is trying to click the Rune to open it.
Position a player on the Rune to spam click and then the other players will spread out around the square away from the Rune clicker. Eventually you will be lucky with the AoE landing on the other players so the Rune clicker has time to finish the cast to open the Rune. Kill the spirit. Loot, is a quest item called ‘Gentle Rain’, it will go in to your quest log bag and can be ignored.
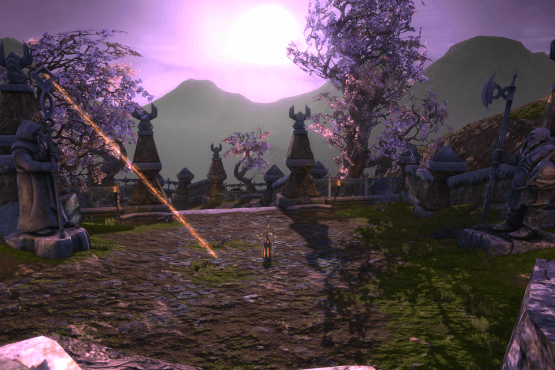
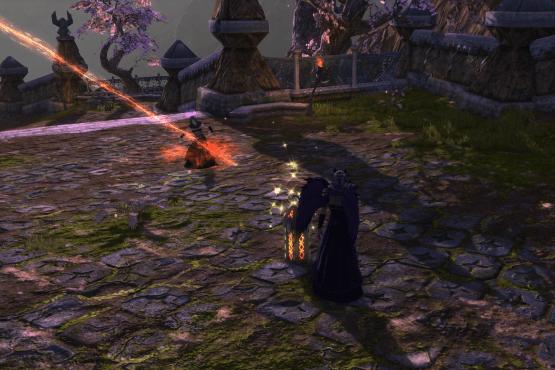
The Second Rune can be found just after the first boss. Either side of the path are two statues, they are both firing a laser beam that lands near the Rune. You may only be able to see one of the lasers, or they may both be invisible! But they are there.
Send your tank or high level friend in first to agro the laser beams, they can then walk a little away from the Rune while you run in to click the Rune and release the spirit. Kill the spirit. Loot, is a quest item called ‘Fire Breath’, it will go in to your quest log bag and can be ignored.
The Third Rune is found on the way to the second boss. The Rune will be at the base of a pillar, when you approach the rune it will teleport to another location within the square area. Your team should spread out and click the rune as it appears next to them, eventually you will manage to click it before it teleports to the next location. You can see where the Rune will port to, the spots are marked with blue circles. Smaller teams should have players stand near a single blue circle and just wait for the Rune to appear next to them, rather than chasing it around the area! Kill the spirit. Loot, is a quest item called ‘Binding Gust’, it will go in to your quest log bag and can be ignored.
When you have Killed all 3 spirits, Brother Damon will appear in the area next to where the third Rune was, /setwaypoint 1021 1208 Hand in the quest to him.
QUEST: Pollinating Power (Normal mode Runic Descent) PICK UP: The quest is picked up from Asha Catari in Runic Descent at /setwaypoint 1147 1171 TO COMPLETE: Use Life Bulbs x3
Find the Life Bulbs on the path towards the third boss, they are all marked clearly on the map. Just walk up to each bulb and click them, no special tactics required!
Life Bulb 1: /setwaypoint 1041 1051 Life Bulb 2: /setwaypoint 1093 1003 Life Bulb 3: /setwaypoint 1138 1007
Hand in the quest to Asha Catari, who will be stood next to the third bulbs location at /setwaypoint 1144 997
Guardian Quests
These quests are available in Runic Descent and are for Guardian Characters only. To be able to see/pick up the quests, the instance needs to be a ‘Guardian Version’ this means that the group leader or the first player to enter needs to be a Guardian.
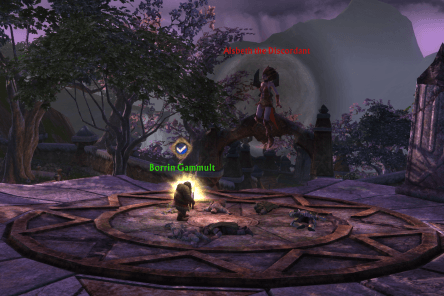
QUEST: Borrin’s Call (Normal mode Runic Descent) PICK UP: The quest is picked up from Tam Daggerborne in The Lodge of the Planes (Sanctum) at /setwaypoint 7608 3107 TO COMPLETE: Speak with Borrin Gammult in Runic Descent within Moonshade Highlands
Enter the Runic Descent Dungeon and find Borrin Gammult near the entrance. /setwaypoint 1110 1352 Hand in the quest.
QUEST: Sins of Stone (Normal mode Runic Descent) – (This quest requires at least 2 people to complete – Some people can do it solo with clever use of the Pet:Stay ability) PICK UP: The quest is picked up from Borrin Gammult in Runic Descent at /setwaypoint 1110 1352 TO COMPLETE: Defeat Rune Cracked Spirits x3
The locations for the Rune Cracked Spirits are marked on your map, work your way through the dungeon and Defeat each Rune Cracked Spirit as you go.. each Sprit is trapped inside a Rune, how to open/click the runes is explained below.
The first Rune is just the left as you go down the slope from the entrance. There is a small squarish area with a fountain in the middle and rune on the other side. As you and your group enter the square you will be targeted with a damaging ground AoE spell. The spell will hit players randomly, drop on the floor below them and stay for a few seconds ticking damage on whoever is stood inside. The damage is not enough to kill you, but it will interrupt the player that is trying to click the Rune to open it.
Position a player on the Rune to spam click and then the other players will spread out around the square away from the Rune clicker. Eventually you will be lucky with the AoE landing on the other players so the Rune clicker has time to finish the cast to open the Rune. Kill the spirit. Loot, is a quest item called ‘Gentle Rain’, it will go in to your quest log bag and can be ignored.
The Second Rune can be found just after the first boss. Either side of the path are two statues, they are both firing a laser beam that lands near the Rune. You may only be able to see one of the lasers, or they may both be invisible! But they are there.
Send your tank or high level friend in first to agro the laser beams, they can then walk a little away from the Rune while you run in to click the Rune and release the spirit. Kill the spirit. Loot, is a quest item called ‘Fire Breath’, it will go in to your quest log bag and can be ignored.
The Third Rune is found on the way to the second boss. The Rune will be at the base of a pillar, when you approach the rune it will teleport to another location within the square area. Your team should spread out and click the rune as it appears next to them, eventually you will manage to click it before it teleports to the next location. You can see where the Rune will port to, the spots are marked with blue circles. Smaller teams should have players stand near a single blue circle and just wait for the Rune to appear next to them, rather than chasing it around the area! Kill the spirit. Loot, is a quest item called ‘Binding Gust’, it will go in to your quest log bag and can be ignored.
When you have Killed all 3 spirits, Borrin Gammult will appear in the area next to where the third Rune was, /setwaypoint 1021 1208 Hand in the quest to him.
QUEST: Sprouting Hope (Normal mode Runic Descent) PICK UP: The quest is picked up from Shyla Starhearth in Runic Descent at /setwaypoint 1147 1171 TO COMPLETE: Use Life Bulbs x3
Find the Life Bulbs on the path towards the third boss, they are all marked clearly on the map. Just walk up to each bulb and click them, no special tactics required!
Life Bulb 1: /setwaypoint 1041 1051 Life Bulb 2: /setwaypoint 1093 1003 Life Bulb 3: /setwaypoint 1138 1007
Hand in the quest to Shyla Starhearth, who will be stood next to the third bulbs location at /setwaypoint 1144 997
QUEST: Rightful Inheritance (Normal mode Runic Descent) PICK UP: The quest is picked up from Captain Haghen in Reclaimer’s Hold (After you have completed the Moonshade Highlands questline) /setwaypoint 6301 1600 TO COMPLETE: Retrieve Stanig’s Shield and Flanged Mace
Loot Stanig’s Shield from Rictus, the first boss. Loot the Flanged Mace from Warden Falidor, the last boss.
Hand in the quest to Captain Haghen in Reclaimer’s Hold at /setwaypoint 6301 1600
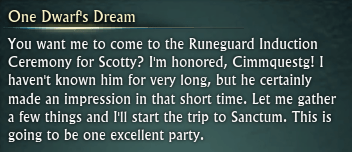
QUEST: One Dwarf’s Dream PICK UP: The quest is picked up from Captain Haghen in Reclaimer’s Hold (After you have completed the quest above) /setwaypoint 6301 1600 TO COMPLETE: Invite the NPCs listed
Invite Kelnin Malm in Silverwood /setwaypoint 6528 3329
Invite Jerome Drift in Silverwood /setwaypoint 5940 3045
Invite Sasha Nikadon in Scarwood /setwaypoint 2589 3540
Invite Hartigan in Moonshade /setwaypoint 7205 2128
Hand in the quest to Captain Haghen in Reclaimer’s Hold at /setwaypoint 6301 1600
QUEST: A Ceremony in Sanctum PICK UP: The quest is picked up from Captain Haghen in Reclaimer’s Hold (After you have completed the quest above) TO COMPLETE: Speak to Borrin Gammult in Sanctum
Hand in the quest to Borrin Gammult in Sanctum of the Vigil at /setwaypoint 7515 3047
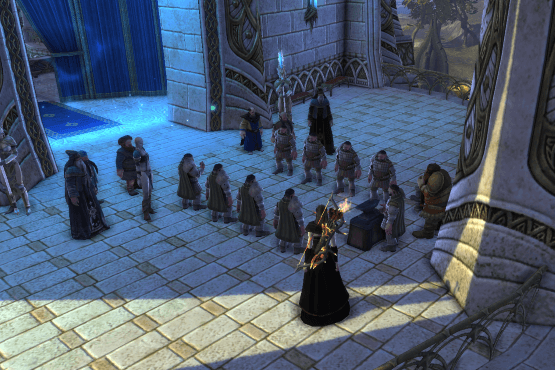
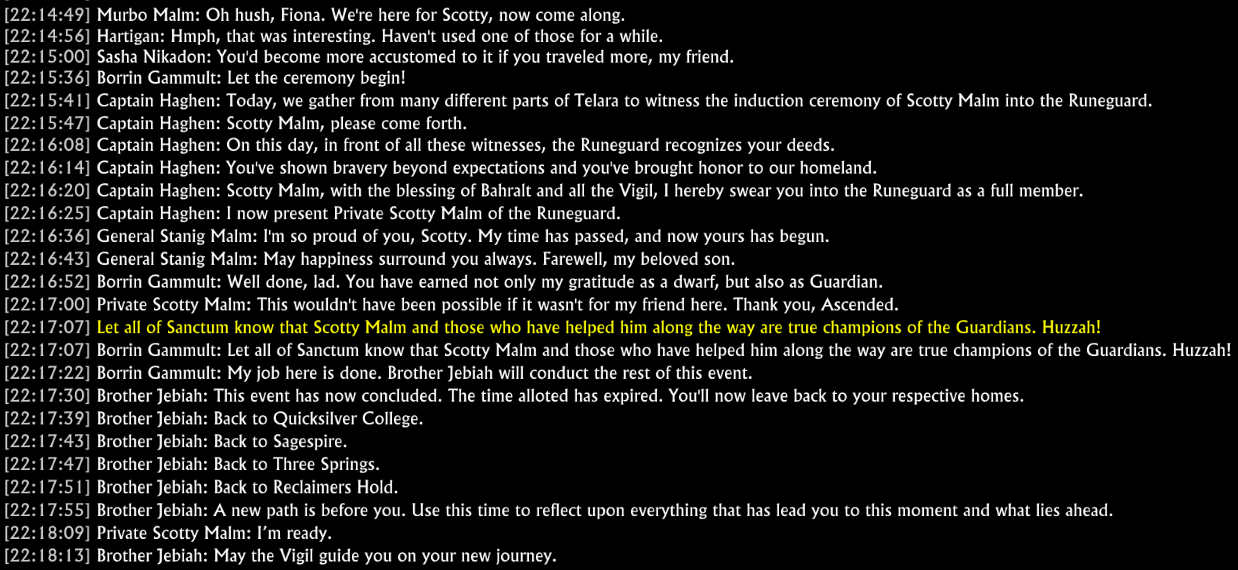
QUEST: Through Thick and Thin PICK UP: The quest is picked up from Borrin Gammult in Sanctum of the Vigil at /setwaypoint 7515 3047 (After you have completed the quest above) TO COMPLETE: Attend the Runeguard Ceremony
Go all the way to the top of the tower and out the balcony on the North side /setwaypoint 7469 3005 You will find the Ceremonial Anvil, click it to start the Ceremony.
Hand in the quest to Borrin Gammult in Sanctum of the Vigil at /setwaypoint 7515 3047
Achievements Available
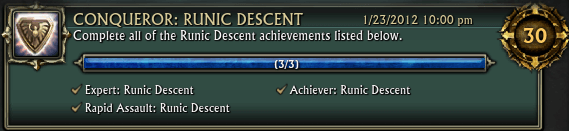
Conqueror: Runic Descent
Complete the 3 cheevos listed
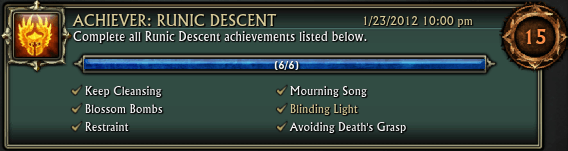
Achiever: Runic Descent
Complete all the cheevos in Runic Descent
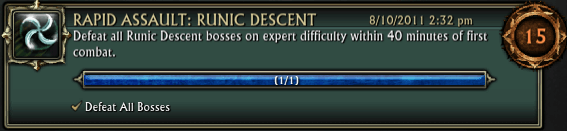
Rapid Assault: Runic Descent
Finish Runic Descent on expert difficulty within 40 minutes of first combat
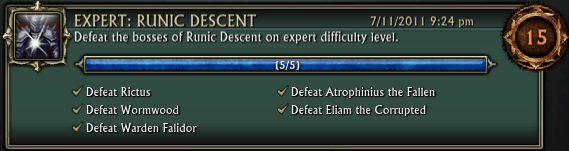
Expert: Runic Descent
Defeat all the bosses in Runic Descent on expert difficulty
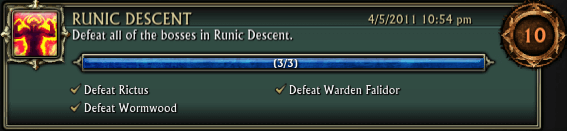
Runic Descent
Defeat the 3 bosses listed, on normal or expert mode
Rictus
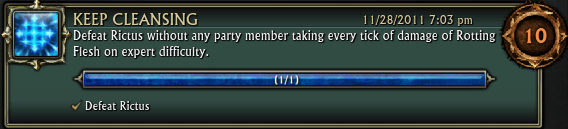
Keep Cleansing
Move quickly out of the Rotting Flesh AoE on the ground and cleanse the DoT off of players before it times out.
Wormwood
Blossom Bombs
Rotting Blossoms will spawn on random players and deal constant AoE damage while they are up and then an AoE damage explosion when they explode, this explosion hits anyone within 15m.
Move swiftly away from any Rotting Blossoms that spawn and then stay at least 15m away until they have exploded.
Warden Falidor
Restraint
Warden will cast Glacial Shield which is a reflective shield that will damage anyone who attacks, stop attacking while the shield is up.
Atrophinius the Fallen
Mourning Song
Don’t kill the two adds that spawn once the boss reaches 50%
Eliam the Corrupted
Blinding Light
Ensure all group members turn away from the boss during the Blinding Light cast and stay turned away til it is finished!
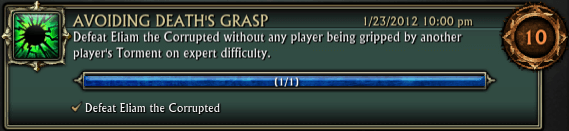
Avoiding Death's Grasp
Eliam will cast ‘Torment’ on a random player, this is a DoT that will hurt any other players they are near.. stay spread out!