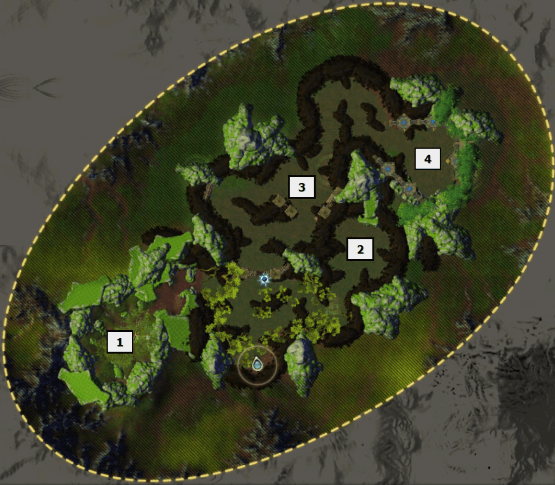
Location: Scatherran Forest – Near the Shadow Market portal Waypoint: /setwaypoint 5519 4884
Number of Standard bosses: 4 Level of Standard bosses: 66-68 Number of Expert bosses: 4 Level of Expert bosses: 72
Solo at 70?: no All cheevos while solo?: no
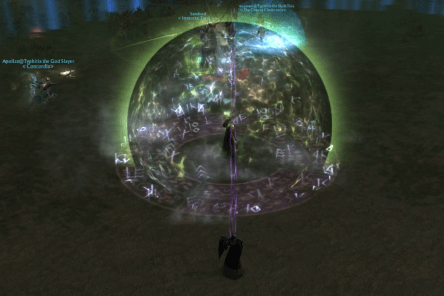
Before you pull your first boss you should go to the blue dot on the map to stop the ritual. (just walk up the NPCs there). Groups will run through the trash and then all the way around to the back of the boss to try to lose agro on it. Let the tank go first and dont attack anything til everyone is behind the boss. You will quickly get used to these spots. For Hollowood there is a large circular shield up around the boss, when you go down the path and approach this shield you need to go right up to it to activate the roleplay before you then turn right to go behind the shield to lose all the adds.
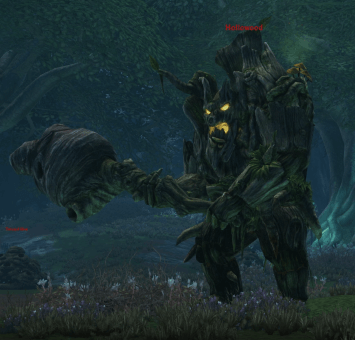
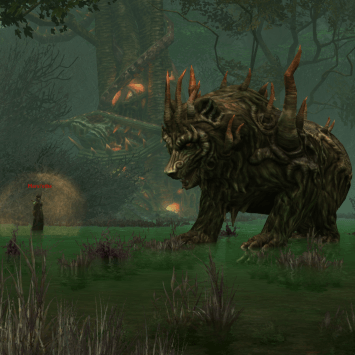
Boss 1 - Hollowood
- Normal Mode + Expert Mode
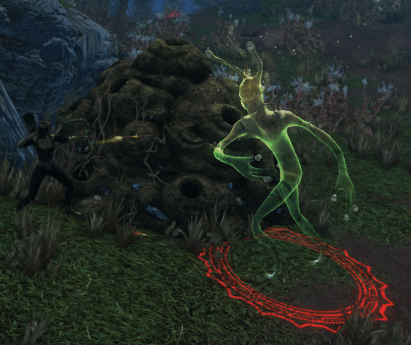
The boss has a shield buff that massively reduces his damage taken. Around the room you will see 4 hives, you need to destroy all 4 hives to kill the boss, the hives also have shields.
During the fight, groups of 4 adds will spawn, these will be random amounts of Pure Spirits (green) and Twisted Spirits (black). Drag one Pure spirit next to a hive and kill the Pure Spirit, this will remove the shield from the hive for a short time allowing you to DPS it down. If there was more than one Pure Spirit in the add group then move it to the next hive and get that one down too. When you only have Twisted Spirits left, kill them all to spawn the next set of 4 adds.
Warning: killing a Twisted Spirit near a hive will ADD to the shield, then you will need more Pure Spirits to get the shield down. The tank can gather up the Twisted spirits with the boss in the middle of the room to prevent this. When all 4 hives are destroyed the boss will die.
Interrupt the cast ‘Release the Bees’ that the boss casts. DPS should concentrate on one hive at a time to ensure it goes down before the shield reactivates.
Hollowood
Take Pure Spirits to the Hives and DPS them down to remove the Hive shield.
Groups will run through the trash and then all the way around to the back of the boss to try to lose agro on it. Let the tank go first and dont attack anything til everyone is behind the boss. You will quickly get used to these spots.
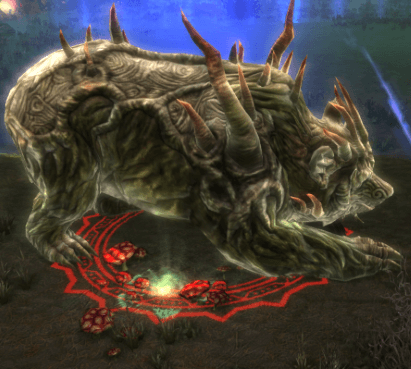
Boss 2 - Mossclaw
- Normal Mode + Expert Mode
There are two ‘bosses’ to this fight, Mossclaw and the witch Marsi’etha. You will start DPSing Mossclaw and then when he goes immune you will switch to the witch. While fighting the witch, Mossclaw will become active again, switch your DPS back to Mossclaw whenever he is active. Keep switching like this until Mossclaw is dead (the witch will only go down to 10% and then run away). A high DPS group can just burn Mossclaw down before the first switch and win the fight!
Interrupts on Mossclaw; ensure the ‘fungal’ cast is always interrupted. The ‘knock back’ cast is not important to rupt, but a low DPS group may want to have someone rupt this too. If the fungal rupt is missed then mushrooms will appear around the feet of players, they deal a lot of damage so move out of them! A red circle of death (with added mushrooms!) will slowly move in from the outer edge of the area, dont stand in it! This red also acts as a soft enrage, be sure everything is dead before it reaches the middle and you have no where to stand!
Mossclaw
Dont stand in the Mushrooms.
Groups will run through the trash and then all the way around to the back of the boss to try to lose agro on it. Let the tank go first and dont attack anything til everyone is behind the boss. You will quickly get used to these spots.
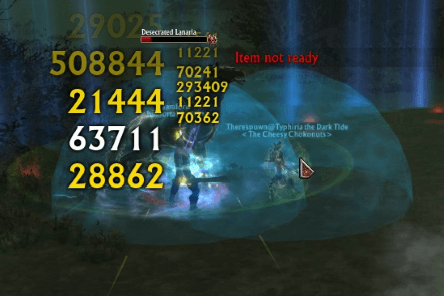
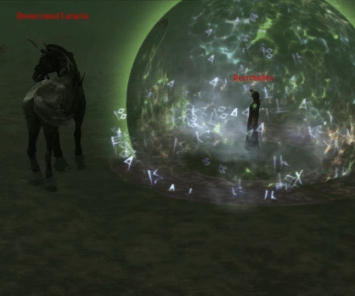
Boss 3 - Lanaria
- Normal Mode + Expert Mode
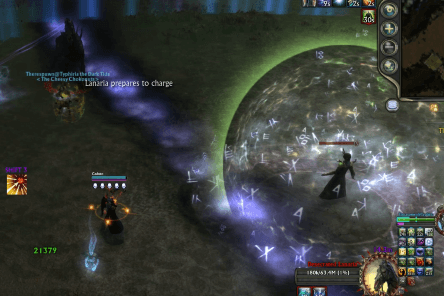
Lanaria is the ill-fated Unicorn. She will charge/prance in lines around the room, leaving a trail of death in her wake, dont stand in it! She will place random blue bubbles (Ionisation cloud) on players, these need to be cleansed off to avoid damage. A high DPS group will be able to kill her before she charges for the first time.
Cleanse!
Dont stand in the trail of footsteps!
Lanaria
Groups will run through the trash and then all the way around to the back of the boss to try to lose agro on it. Let the tank go first and dont attack anything til everyone is behind the boss. You will quickly get used to these spots. You can push the red button near the entrance to the boss area to skip most of the roleplay/talking.
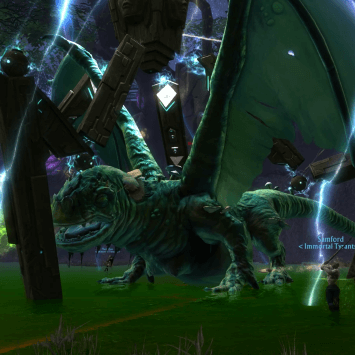
Boss 4 - Nathairacha
- Normal Mode + Expert Mode
A simple dragon fight, Tank should keep him in the middle of the room, DPS and heals ensure you stay at the side of the dragon not the head or tail end and kill him asap.
Poison Breath – A frontal cleave + Knockback – Stay out of it! Tail Swipe – The rear cleave + Knockback – Stay out of that too! Witches! – The witches from the previous bosses are stood around the room, they will become active if the fight takes too long and start casting spells from the previous 3 fights, even a low DPS group should be able to kill them before they get too painful.
Nathairacha
Achievements Available
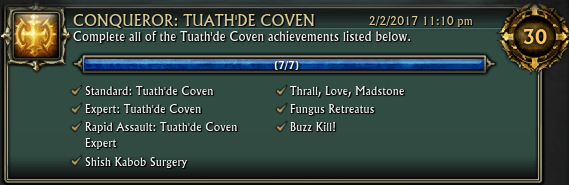
Conqueror: Tuath'de Coven
The meta-cheevo for most of the cheevos below.
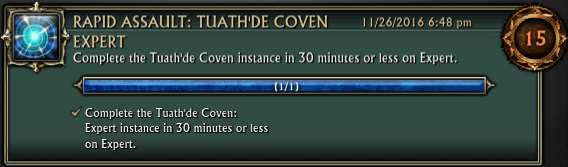
Rapid Assault: Tuath'de Coven
Complete the whole dungeon in less than 30 minutes.
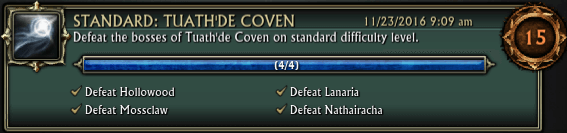
Standard: Tuath'de Coven
Kill all the bosses on standard mode.
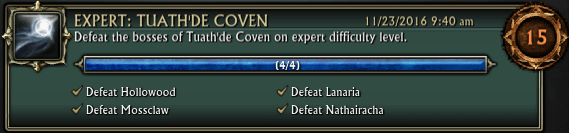
Expert: Tuath'de Coven
Kill all the bosses on expert mode.
Hollowood
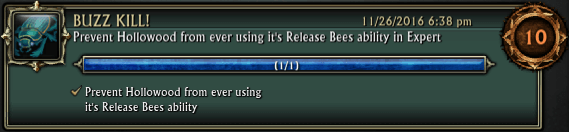
Buzz Kill!
Hollowood will cast Release the bees – This is an interruptable spell – Usually the tank would interrupt this.
Mossclaw
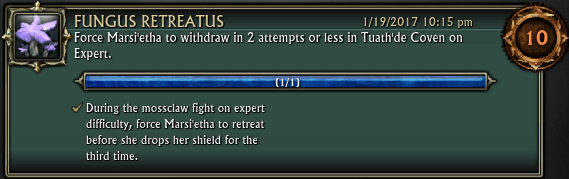
Fungus Retreatus
Kill Mossclaw quickly enough so Marsi’etha doesn’t drop her shield a third time. A high DPS group will find this very easy.
Lanaria
Shish Kabob Surgery
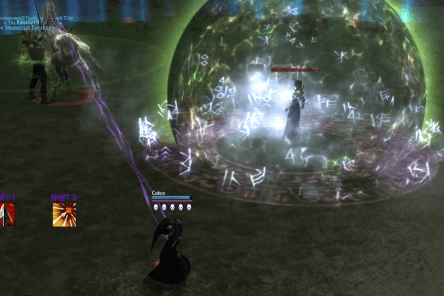
During the fight the witch Beerthaden will be in a protective bubble in the middle of the area. To save Lanaria you need to remove the protective bubble from around the witch and kill her. Lanaria will cast a purple beam on a random player, this player needs to move so the beam crosses over Beerthaden, this will slowly remove stacks of her buff ‘Grace of the Unicorn. When all 50 stacks are gone, the shield will go down and you can kill the witch.
Your group will need to stop DPS on Lanaria to allow her to cast the beam enough times to free Beerthaden. It will help if your group stands stacked up on the opposite side of Beerthaden than the tank, so whoever gets the beam is already in the correct position for it to intersect the witch.
Once Beerthaden has no stacks left Lanarias horn will drop on the ground and you must pick it up and then target Lanaria and use the reactive.
Random player will get the beam.
Make the beam intersect Beerthaden.
This will remove the stacks of 'Grace of the Unicorn'.
Nathairacha
Thrall, Love, Madstone
You can only get this cheevo if you have NOT done the above cheevo where you need to kill Beerthaden instead of Lanaria. During the Nathairacha fight, all 3 witches will spawn one at a time for you to kill. Your DPS will need to slow DPS, wait for all the witches to spawn and kill all 3 before killing Nathairacha.