Number of Standard bosses: 5 Level of Standard bosses: 67-70 Number of Expert bosses: 5 Level of Expert bosses: 72
Solo at 70?: no All cheevos while solo?: no
If you are running this dungeon during the 25 required for your eternal weapon, be sure you wait after the last boss for the roleplay to finish before exiting the instance, otherwise you may not get credit for your run.
The group will likely run all the way through the trash towards the boss area. The tank should go first and hopefully be able the cleanse himself (the trash puts a debuff on players to slow them down) if the tank cant cleanse themselves then it will be helpful if the healer spam cleanses. The goal here is to reach the boss with only the tank in combat, then the DPS/heals can stand in a safe spot and the tank dies. The tank is then rezzed and the boss fight can begin.
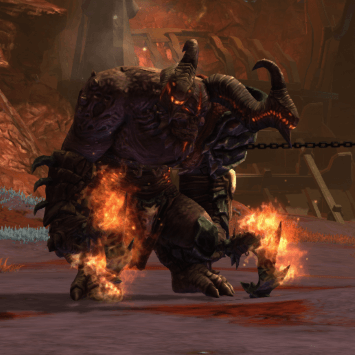
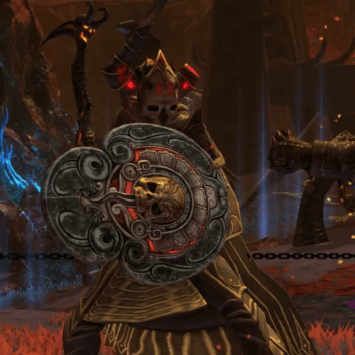
Boss 1 - Gristlespitt
- Normal Mode + Expert Mode
When he emotes “Bleed for me mortal!” he will prepare to Aggressively Charge a random player, use the handle of the winch that he’s attached to. Failing to do this is a one shot. The tank can intercept this if he has a nice large health pool.
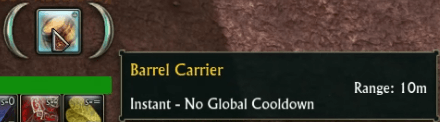
When Gristlespitt casts Rabid Spittle a random player will see the emote “Grisslespitt thirsts for your blood!” This is also when Tasuil emotes “Grab a barrel of Rot Wine! It’s what he really wants”. The random player should pick up a barrel to reduce the boss’s stacks.
Most of these mechanics can just be avoided with high DPS or healed through now. Make sure the tank turns him away from the group. After the boss dies a giant and painful crystal will spawn where he died. Move out quickly to avoid certain death!
Gristlespitt
The group will likely run all the way through the trash towards the boss area. The tank should go first and hopefully be able the cleanse himself (the trash will try to slow him down) if the tank cant cleanse himself then it will be helpful if the healer spam cleanses. The goal here is to reach the boss with only the tank in combat, then the DPS/heals can stand in a safe spot and the tank dies. The tank is then rezzed and the boss fight can begin.
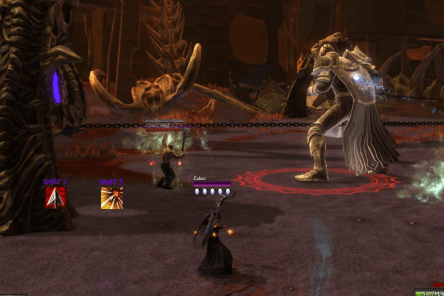
Boss 2 - Killthraxus
- Normal Mode + Expert Mode
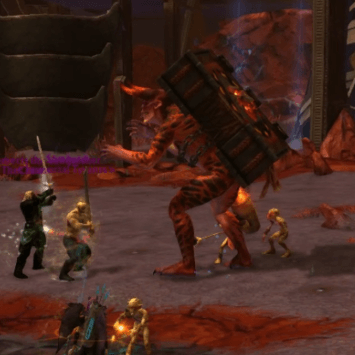
This is a two phase fight. In phase one you need to destroy the pillar in the middle of the area. The pillar has a shield on it which reduces damage taken. You should DPS the pillar if there are no adds up to kill. Sets of 3 adds will spawn, you need to kill the add with the bomb on his back. When the Bombardier Goblin dies he will drop his bomb, you need to pick up the bomb and move it next to the pillar so the red circle overlaps the middle of the pillar (Killing the add near the tower and letting the bomb explode by itself used to work, but now the bomb needs to be picked up and placed by a player before it explodes otherwise it wont deal damage to the tower) . When the bomb explodes near the pillar it will remove a stack of the shield, then just wait for the next bomber add and repeat.
Pick up the Barrel and place it near the pillar.
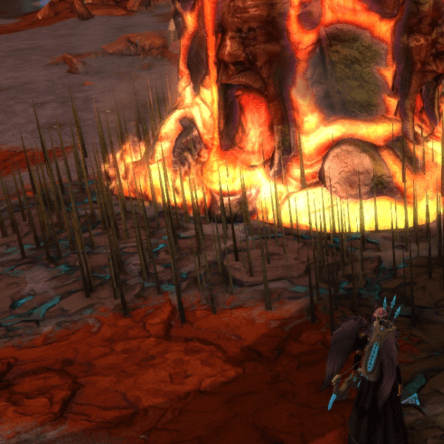
During phase one there will also be spikes coming out of the ground around the pillar and at the edge of the area, be sure not to stand in them, especially if you have low health.
There will also be a spinning red pizza slices mechanic from the pillar, move into the safe zones and stay in them as it turns, especially if you have low a health pool!
Once the pillar is down the actual boss will appear. This boss is a simple tank n spank.
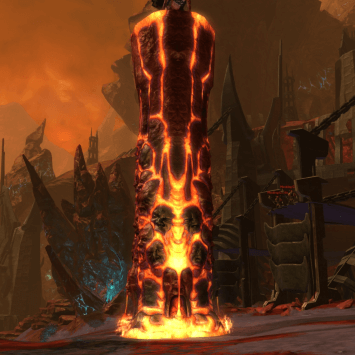
The Pillar
Killthraxus
Stay away from the spikes!
Fire does not increase your DPS!
Pick up the barrel and place it near the pillar.
The group will likely run all the way through the trash towards the boss area. The tank should go first and hopefully be able the cleanse himself (the trash will try to slow him down) if the tank cant cleanse himself then it will be helpful if the healer spam cleanses. The goal here is to reach the boss with only the tank in combat, then the DPS/heals can stand in a safe spot and the tank dies. The tank is then rezzed and the boss fight can begin.
Boss 3 - Lord Draveneaux
- Normal Mode + Expert Mode
The boss starts with 2 armour pieces that act as a shield, DPS down the Volcanic Aspirator and Infernal Bulwark first! The rest of his shield needs to be removed by dragging the boss to a ‘caustic shard’ on the ground and killing the shard, this will give him the first buff he needs, then drag the boss into the red cone of fire that ‘the dragon’ is breathing, this gives him the second buff. Once he has had both buffs (he doesn’t need them both at the same time) his full shield will drop and you can DPS him down.
Lord Draveneaux
The group will likely run all the way through the trash towards the boss area. The tank should go first and hopefully be able the cleanse himself (the trash will try to slow him down) if the tank cant cleanse himself then it will be helpful if the healer spam cleanses. The goal here is to reach the boss with only the tank in combat, then the DPS/heals can stand in a safe spot and the tank dies. The tank is then rezzed and the boss fight can begin.
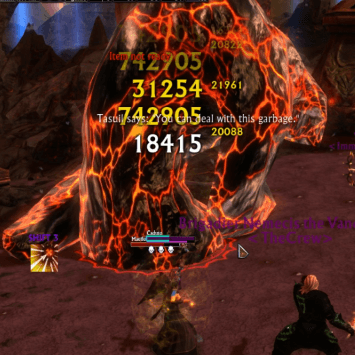
Boss 4 - Maelfernus
- Normal Mode + Expert Mode
Have your group move all the way over to the back of the room where the urn is. Push the button on the pillar to the left to start the fight. The boss will pop out of the urn at the back of the room. The whole group should gather here and DPS him down asap. Keep the boss in the spot where he spawns. (if you move him closer to Tasuil then you will need to do mechanics.. which is completely avoidable and unnecessary) Behind you, fire elementals will be making their way to Tasuil. You will likely kill the boss long before they get there!
Maelfernus
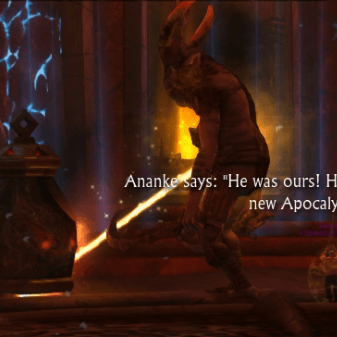
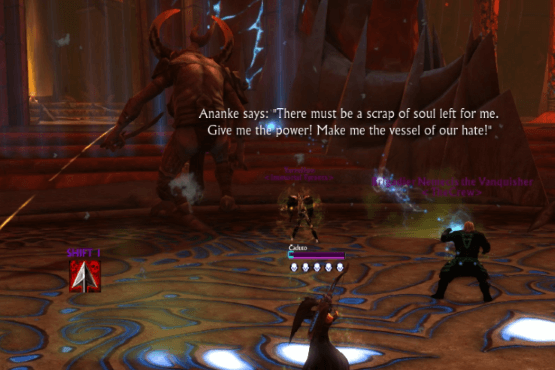
Boss 5 - Ananke
- Normal Mode + Expert Mode
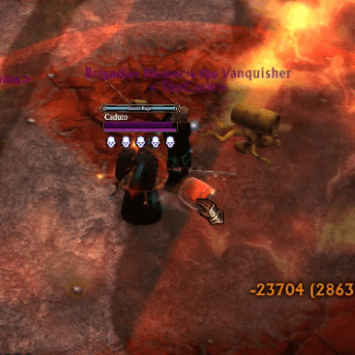
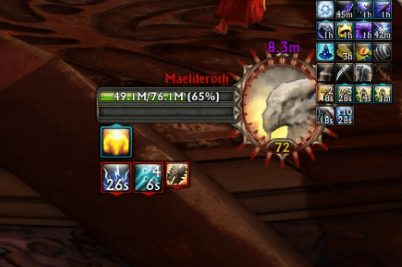
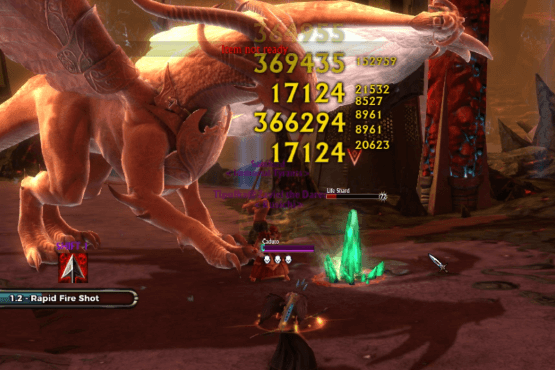
Start by pulling Maelderoth (Tasuil) back towards the entrance area and DPS him down to below 75% as quickly as possible (the longer this takes the more crystal stacks he will have) When he hits 75% a DPS or off tank will need to grab Ananke and kite him around the room while ensuring he is inturrupted. Dont let Ananke touch you, dont let him near the rest of the group and dont let him near Maelderoth (Tasuil). The group with Maelderoth (Tasuil) needs to drag him to the green Life Crystals that appear around the circle and destroy the crystal once he is next to it. This will remove the crystal stack buff. Once he has no more stacks of the crystal buff some roleplay will happen and everyone should gather in the middle of the room ready to kill Ananke when he is no longer immune (be sure to keep healing during this waiting phase!) Then simple tank n spank Ananke.
A high DPS group can easily do the first phase only gaining and then having to remove just one stack of the crystal buff.
Ananke
One stack of the buff means you only need to destroy one crystal
Destroy the life crystal with Tasuil near.
Then kill Ananke when she is active.
Achievements Available
Conqueror: Temple of Ananke
The meta-cheevo for completing most of the cheevos below.
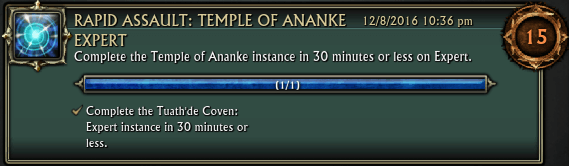
Rapid Assault: Temple of Ananke Expert
Kill all the bosses on expert mode within 30 minutes.
Standard: Temple of Ananke
Kill all the bosses on standard mode.
Expert: Temple of Ananke
Kill all the bosses on expert mode.
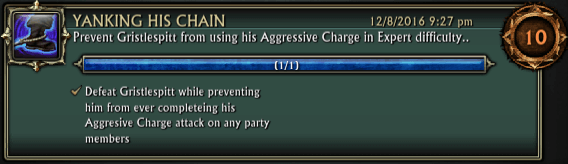
Gristlespitt
Yanking His Chain
Either kill him so quick he doesnt cast it, or ensure you have someone stood by the lever ready to pull the lever when he casts it.
Killthraxus
The Unburnt
Stay out of the ‘triferno’ flames that rotate around the pillar.
Fire does not increase your DPS!
Lord Draveneaux
Breaker of Chains
DPS down the bosses Volcanic Aspirator and Infernal Bulwark to destroy them, then the rest of his shield needs to be removed by dragging the boss to a ‘caustic shard’ on the ground and killing the shard, this will give him the first buff he needs, then drag the boss into the red cone of fire that ‘the dragon’ is breathing, this gives him the second buff. Once he has had both buffs (he doesn’t need them both at the same time) his full shield will drop. Don’t DPS him!
Now you need to drag him towards the pillars supporting the chains that hold Tasuil. Position the boss so the chain is right in front of him, this can take a bit of trial and error. When the boss casts ‘Scale Breaker’ on Tasuil, the flying dragon above you will cast ‘Scorched Earth’ on the boss, this will will hit the chain and break it. Move to the other 2 chains and break those in the same way. You may need throw a few heals on Tasuil to make sure he survives til the end.
Maelfernus
Grounded
Kill the boss in the top corner right next to the urn, kill him quickly!