

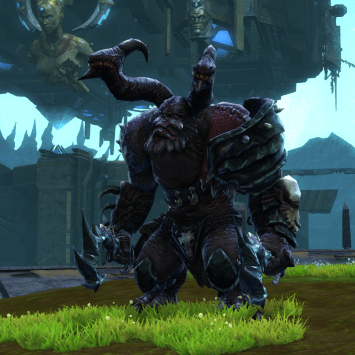
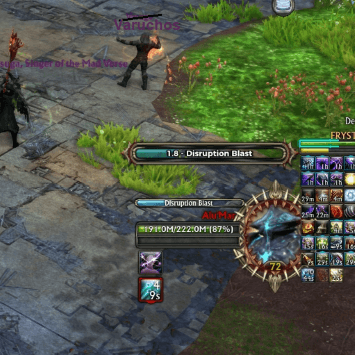
DPS it down quick!

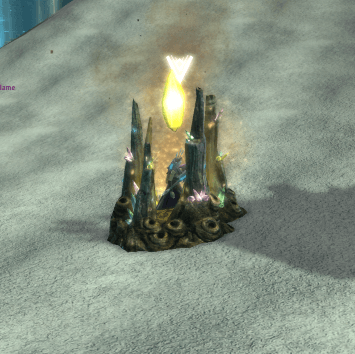
Let a wisp explode nearby to get rid of it.
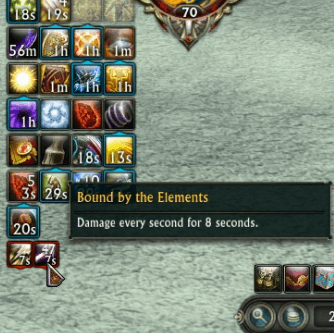
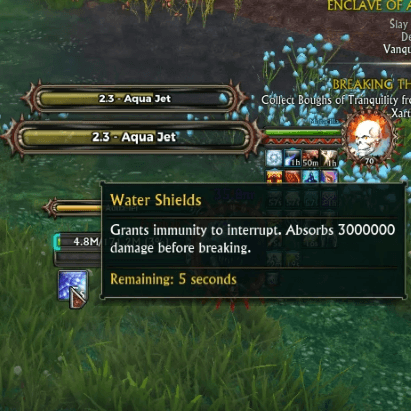
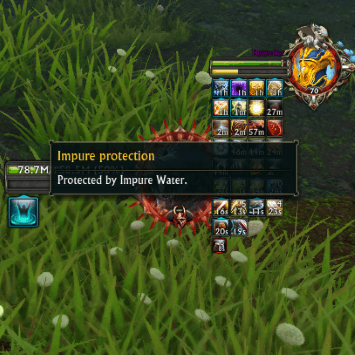
Can be interrupted. The debuff can be cleansed.

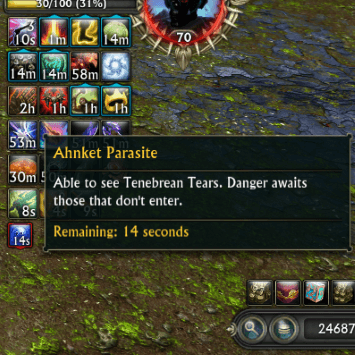
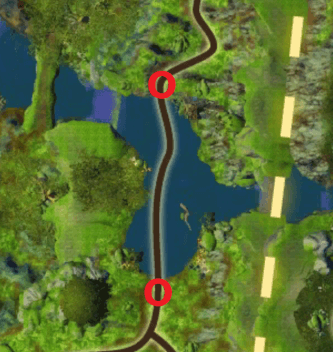
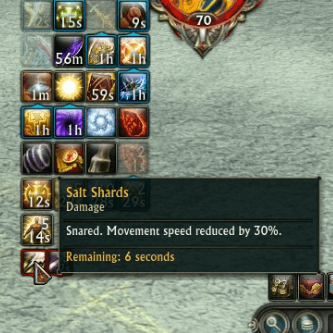
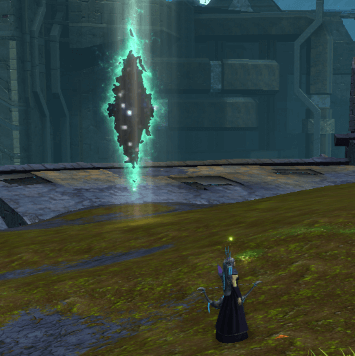
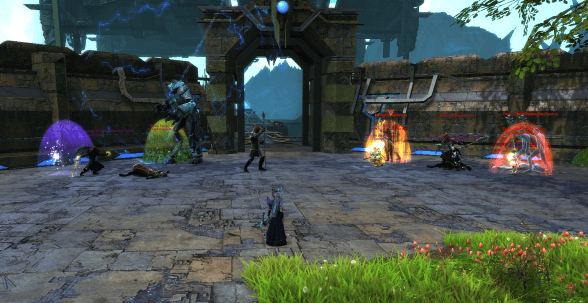
The player with this debuff needs to
find and enter the portal ASAP.

when the adds die.

remove the shields.
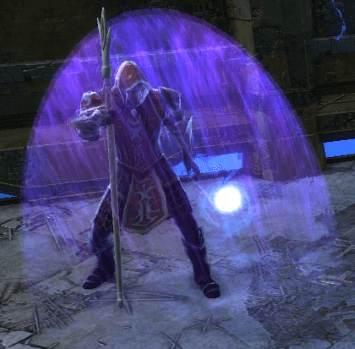
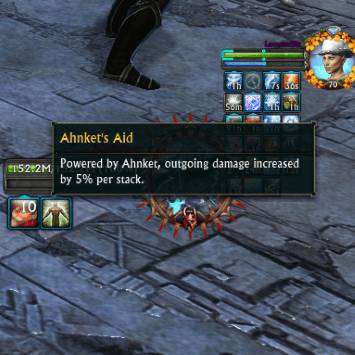
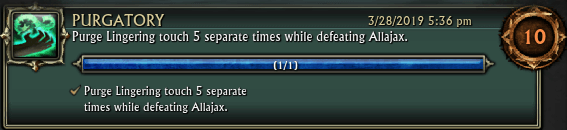
You should purge this off the boss.

Best to overlap the Warden portal .

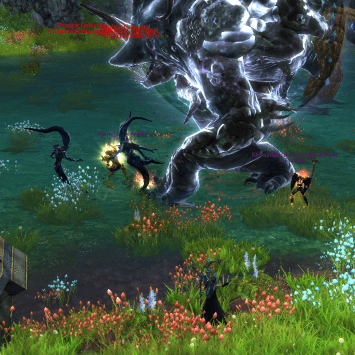
Stay out of the red!

Wisdom +612 ~ Endurance +383
Legs + Shoulders
Cleric
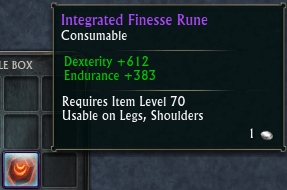
Dexterity +612 ~ Endurance +383
Legs + Shoulders
Rogue/Primalist

Intelligence +612 ~ Endurance +383
Legs + Shoulders
Mage
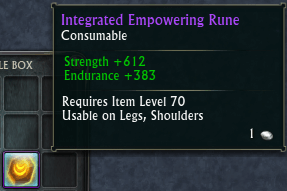
Strength +612 ~ Endurance +383
Legs + Shoulders
Warrior
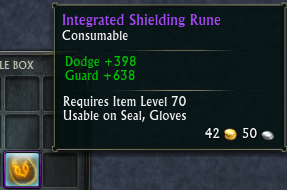
Dodge +398 ~ Guard +638
Seal + Gloves
Any Class Tank
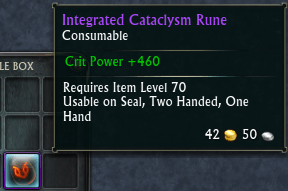
Crit Power +460
Seal + Two Handed + One Hand
Any Class DPS/Heal
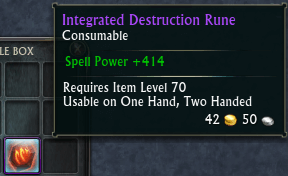
Spell Power +414
Two Handed + One Hand
Magic Class DPS/Heal
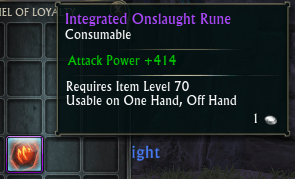
Attack Power +414
One Hand + Off Hand
Physical Class DPS/Heal
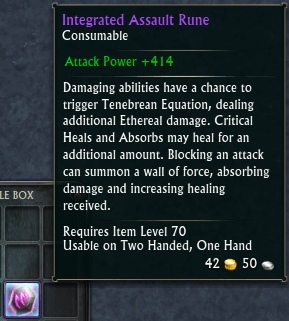
Attack Power +414 ~ Tenebrean Equation Proc (same as crafted rune)
Two Handed
Physical Class DPS/Heal/Tank
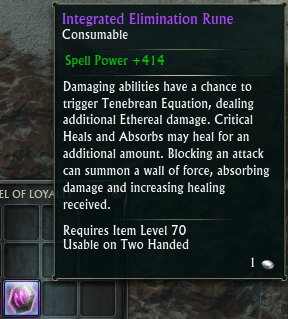
Spell Power +414 ~ Tenebrean Equation Proc (same as crafted rune)
Two Handed
Magical Class DPS/Heal/Tank