Location: Ashenfell – In The Oracle Waypoint: /setwaypoint 3490 4717
Number of Standard bosses: No standard mode Number of Expert bosses: 4 Level of Expert bosses: 72
Solo at 70?: no All cheevos while solo?: no
Note: This guide is for the level 70 PoA version Intrepid Gyel Fortress, Click here for the level 65 Nightmare Tide version of Gyel Fortress.
Before the first boss.. Most groups will choose to completely ignore the large path of trash mobs all the way up to the first boss. This can be done in a variety of different ways.
The whole group can run through as a pack with the tank taunting everything and the healer keeping him alive, all trash will stop following once you hit the top of the ramp approaching the first boss.
The group can jump up the sheets of metal, skipping most of the path and then run straight up the ramp.
One person can stealth all the way to the boss and then summon the group (requires planewalkers call ability).
If you are unsure which method will be used, just ask, or follow the group!
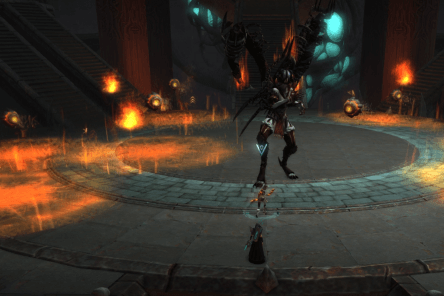
Boss 1 - Seathe
- Expert Mode
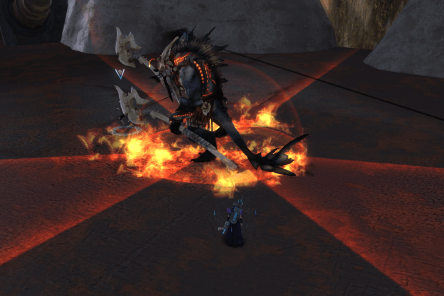
Tank the boss where he stands The boss does a spinny roundy pizza thing (Triferno), run around the boss staying in the safe area until it finishes, there will also be a red circle around the base of the boss so don’t be too close. He has adds that come in on chains that you can ignore. When they get to pillar they will increase damage of boss, but you will likely kill the boss before this happens. Random player, gets targeted by smouldering crystal and needs to run out the group and drop the crystal at the egde, 2 crystal will drop, one after the other so you need to move out the first, drop the second and then move back in. He will cast an interruptable skill named Fervor of the Branded. Just interrupt this
Seathe
Move out the group and slightly overlap the crystals.
Triferno!
Three dogs will spawn next to a portal behind the first boss once it is dead. You have to kill the 3 dogs before you can enter the portal.
The trash now leading to the second boss can be entirely skipped by just running through them as a group (let the tank go first) and then running towards the back of the room where the second boss is to lose agro. Most groups will do this, so be prepared to run and dont hit anything! Be sure to run around the left edge of the room, not through the middle, or you may pull the boss.
Boss 2 - Houndmaster Kytus
- Expert Mode
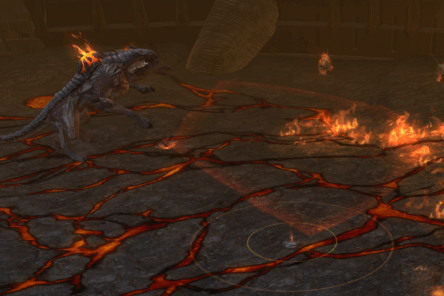
The tank needs to have good aoe agro to be able to gather up all the adds. The tank will need to slowly kite the gathered mobs around the room so he doesnt end up stood in the bad. Players will have red aoe mines drop on them, you need to move out before they explode. When they explode, red beams will criss cross across the room, these dont hurt too much but best to try to avoid them. Lots of adds will join the fight.. The large Infernal Rex will cast ‘howl’, this needs to be interrupted or the whole group will be ‘feared’. The Rex also has a frontal cone cleave that the tank will need to move out of. The smaller dogs will drop a trail of fire behind them, this is very painful to stand in!
There is a lot to avoid, players should be responsible about where they are stood. The healer should focus on keeping the tank alive but also be ready to splash some aoe heals around when needed. The tank needs to slowly kite everything around the edge of the room and ensure they agro all the adds that spawn asap.
Houndmaster Kytus
Mines!
Trail of fire!
Frontal Cleave!
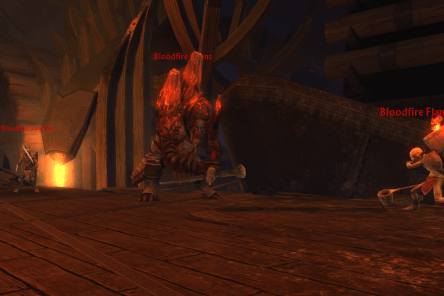
The trash on the way to the lift can be ignored, make sure the whole group moves onto the lift together tho, once the first person touches the lift the rest of the group needs to get on quickly or the lift will go and leave people behind! The trash in the next room can be tricky and there is no way to avoid them. Bloodfire Field Medics are ranged mobs that dont move, the tank will need to gather a small group of adds on top of them. Bloodfire Enforcers have a frontal cone cleave ability.
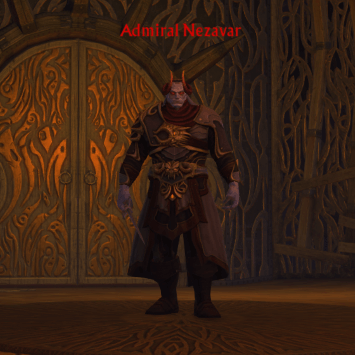
Boss 3 - Admiral Nezavar
- Expert Mode
The tank should pull the boss and turn him away from the group. The boss will occasionally knock the tank back, he will flip the tank over and knock him back towards the group, the tank just needs to run back to the boss, turn him away from the group and continue tanking.
The boss will cast ‘Draw In’ which will pull the whole group to melee range, straight after he will cast ‘Burning Rain’, this will put a red aoe around the boss and random aoe circles around the area, move away from the boss straight away and avoid all other red. The group will have a debuff that slows them, this can be cleansed off.
Adds will spawn during the fight, kill them, higher geared groups will have enough dps that they dont even spawn.
The boss will target a random player and tell that player to run away and then chase after them. The tank can use a taunt to negate this, or the player should just run around and not let the boss catch them.
Admiral Nezavar
Red aoe around the boss during burning rain.
Gather the adds onto the boss and cleave them down.
Although it appears that there is a lot of trash on the way to boss 4, you only need to kill the very first mob at the top of the lift. Then just wait a minute for the roleplay to finish and all the other trash will disappear.
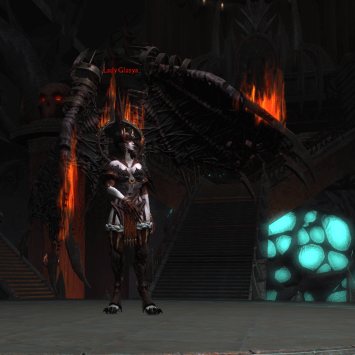
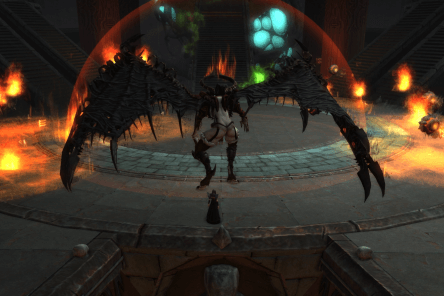
Boss 4 - Lady Glasya
- Expert Mode
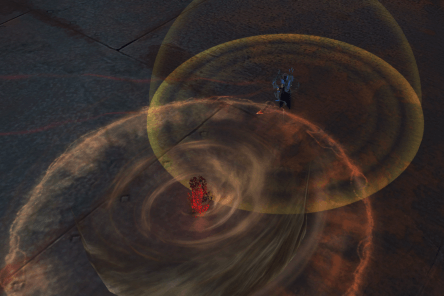
For the majority of the fight the tank will hold Lady Glasya in the middle of the room while the rest of the group stands together at the edge near the entry walkways. Around the room are flying Oculons, you need to stay away from those as they will periodically have red aoe damage around them (Scorching Radiation). The tank will get a large red AoE around them (called Oculon Blast), they need to stay in the middle of the room away from the group, when it explodes there will be a small knock back and another Oculon will appear where the tank was stood. The tank will also get a smaller blue AoE around him (Void), the tank needs to run to the group and stand with them in this blue AoE to share the max health reduction between all the players. Infernal bond will link all the Oculons together with laser beams, stay out of those! After the boss dies a dragon will appear on the left side and breathe all over the players reducing their max health, this is annoying, but will go away in around 20 seconds. Most players exit the portal very quickly to avoid this!
Lady Glasya
Red AoE around the Oculons.
Big red AoE around the tank.
Run the blue AoE to the group.
Achievements Available
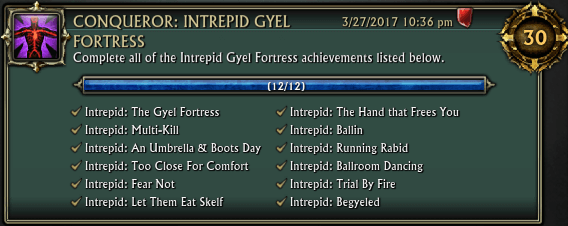
Conqueror: Intrepid Gyel Fortress
A Meta-Cheevo for completing most of the cheevos listed below.
Completing this cheevo awards the ‘Bane of the Bloodfire’ title.
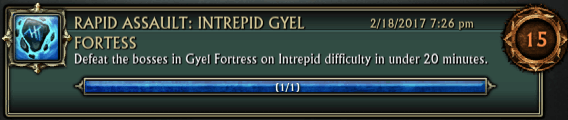
Rapid Assault: Intrepid Gyel Fortress
Kill everything within 20mins.
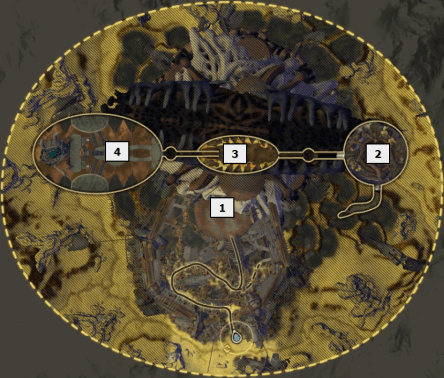
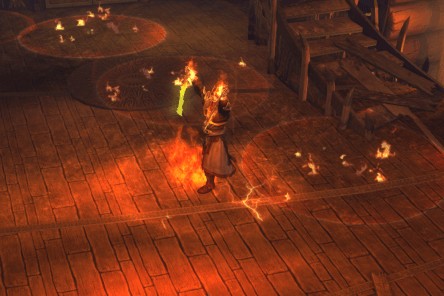
Intrepid: Trial By Fire
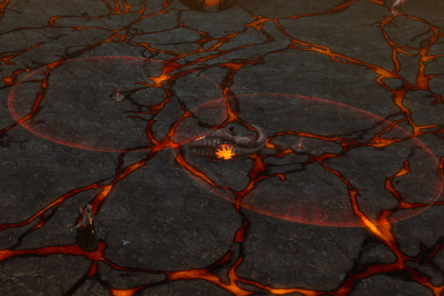
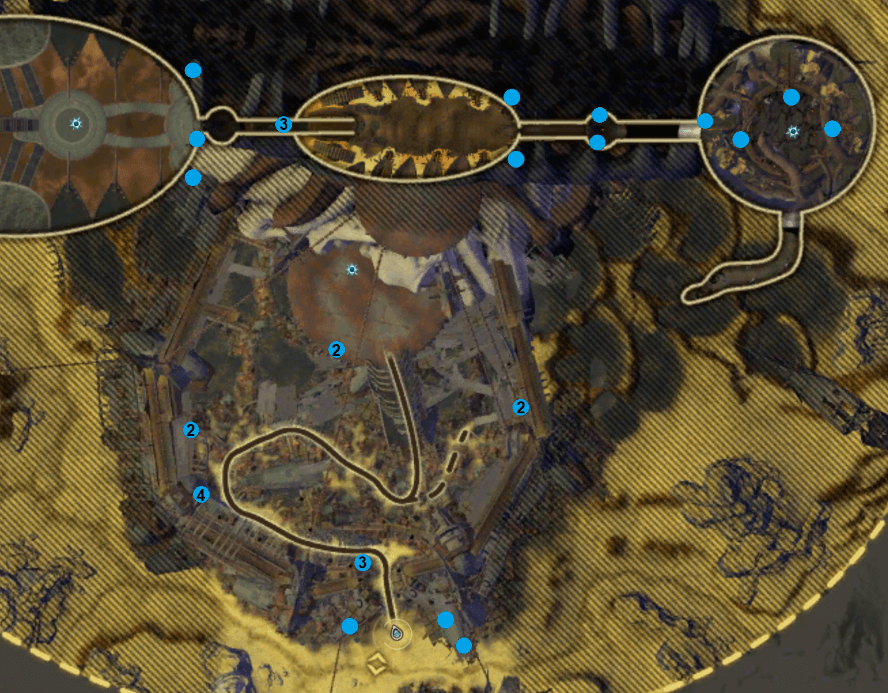
Dotted around the dungeon are 30 corrupting Infernos. You can complete this cheevo in normal mode or expert mode. (Expert mode infernos were bugged at one point but should now be fixed) You can create a simple target macro to help you find them /target inferno You can see the locations on the map below. Locations with numbers are small groups of infernos.
Some of the infernos will be behind invisible walls.. You will need to send a combat pet in to kill them. In the room where the Houndmaster boss is, there is an inferno up on a skull that can be tricky to kill, you need to jump up onto the skull and get as close to the inferno as possible before you send your pet in to attack. Select the inferno and use the ‘pet attack’ button on your pet bar to make your pet attack the infernos.
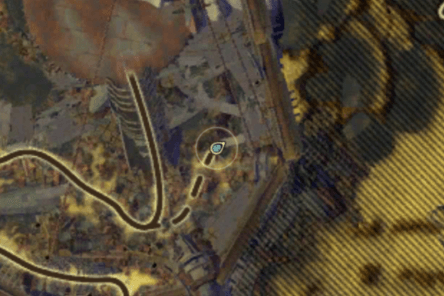
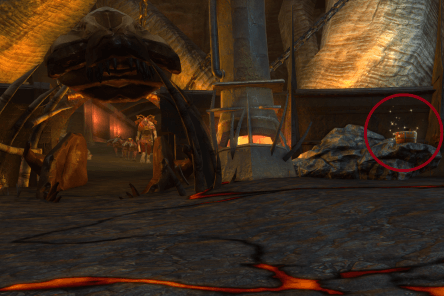
Intrepid: Begyeled
You will find this puzzle over on the right side of the trash before the first boss.
Here you will find a Transformation Orb to click on.
Clicking the Orb gives you the Hot Tomato temporary ability.
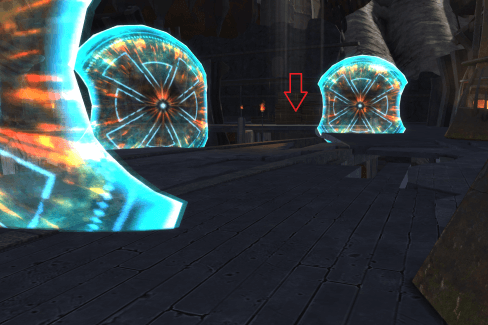
You need to pass the ability by throwing it at other players, pass it up the ramp and along the decking until a player reaches the beam of light just in front of the stacks of sheet metal. The player holding the Tomato is unable to move. You cannot pass the Tomato through the shields, you will have to navigate around them. There is no cooldown for holding the Tomato, so as little as two players can pass the Tomato between them to reach the beam of light. With five players, simply spread out in a line from the orb to the light and pass the Tomato along the line. The range of the Hot Tomato ability is 20 metres.
Intrepid: The Gyel Fortress
Kill all of the bosses!
Seathe
Intrepid: I Seathe What You Did There
Kill Seathe, the first boss.
Intrepid: Let Them Eat Skelf
Kill Seathe without killing any of the chained adds.
Intrepid: Too Close For Comfort
When you drop your first Smoldering crystal, stay inside the circle and drop the second one there. Make sure your healer knows you are going to do this so they can throw extra heals on you!
Houndmaster Kytus
Intrepid: Houndmastered
Kill the Houndmaster, the second boss.
Intrepid: Fear Not
When the Rex spawns, make sure his ‘howl’ ability is interrupted every time. Kill the first Rex before the second Rex spawns, or just assign a second interrupter.
Intrepid: The Hand That Frees You
Be careful not to AoE or cleave, single target DPS the boss down asap.
Admiral Nezavar
Intrepid: Keeled Dead
Kill Admiral Nezavar, the third boss.
Intrepid: An Umbrella & Boots Day
Be sure to stay out of the red circle around the boss during burning rain, and the other red circles on the ground.
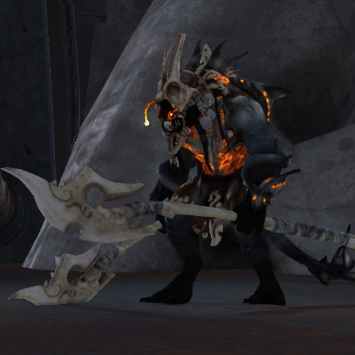
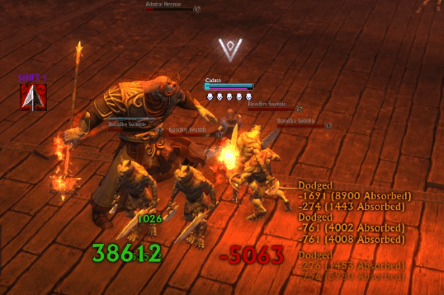
Intrepid: Multi-Kill
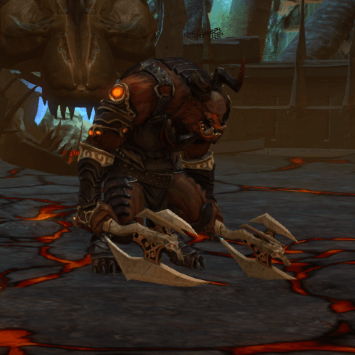
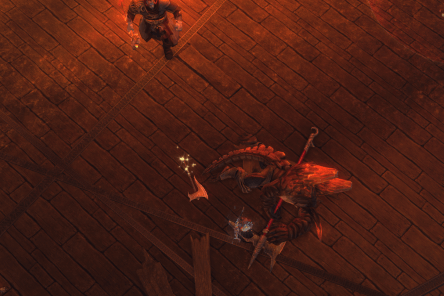
When you start the fight there will be various trash mobs around the edges of the room. These trash mobs will slowly become active and join the fight. Keep them alive! One of these mobs is called the Bloodfire Grunt. When you kill the Bloodire Grunt he will drop a long axe for you to pickup.
(It is possible that the boss needs to be below 50% before the Grunts will become active)
The long axe will appear on the ground as a clickable item next to the corpse of the Bloodfire Grunt. The player who wants the cheevo will need to pick up the axe – this is an individual achievement, only awarded to the player who swings the axe, not the whole group.
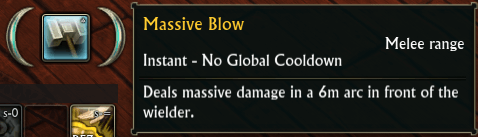
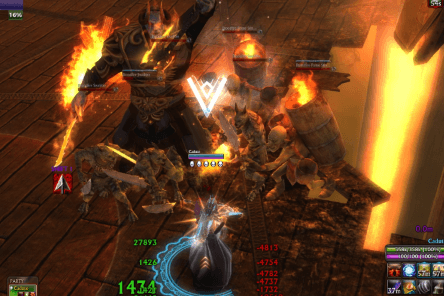
The player that picks up the long axe will gain a temporary ability called ‘Massive Blow’ The ability will disappear after a while, so its best to ensure you have at least 7 mobs to hit, then kill the Bloodfire Grunt and use the ability within 15 seconds (to be sure)
Group 7 mobs up in a tight area (this can include the boss), be in melee range, the ability only cleaves within 6 metres. Use the ability when you are sure you will hit all 7 mobs (you can have more than 7 mobs to make this easier, just keep letting the adds spawn and gather everything up)
The cheevo will pop as soon as the requirements have been met, you can then wipe and repeat to allow other people to get the cheevo too, or just continue the fight and kill the boss.
Lady Glasya
Intrepid: Oculons to the Wall
Kill Lady Glasya, the fourth boss.
Intrepid: Ballin
A new Oculon appears each time the tank gets the big red bubble, so kill her quickly!
Intrepid: Running Rabid
After you kill the Houndmaster (boss 2) you will get a debuff called ‘Foaming at the mouth’ this debuff lasts for 10 minutes. It can be cleared by clicking the chest near the exit from this boss. Make sure the whole party does not click the chest and then kill Lady Glasya within 10 minutes to get this cheevo.
Intrepid: Ballroom Dancing
Infernal Bond – Stay out of the laser beams between the Oculons during the cast. Oculon Blast – Stay out of the big red bubble. Scorching Radiation -Stay out of the red circles on the floor beneath the Oculons. Atomic Whirlwind – Stay away from the boss when she casts this spell and spins.