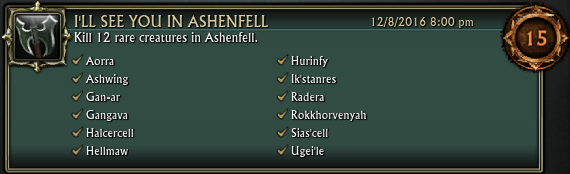
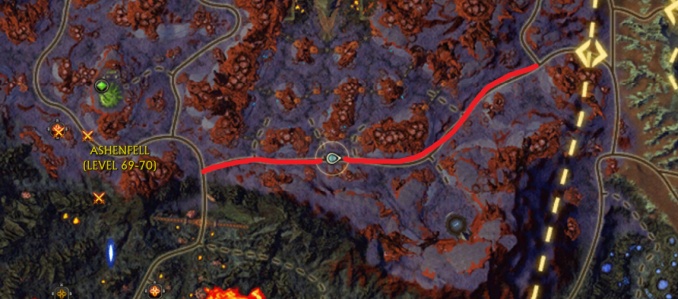
A lot of the mobs around ‘The gates of flame’ area /setwaypoint 2854 4685 count towards this cheevo. You can also follow the path through the fields of slaughter and kill pretty much everything you see to credit the cheevo.
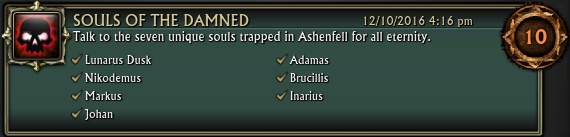
Souls of the Damned
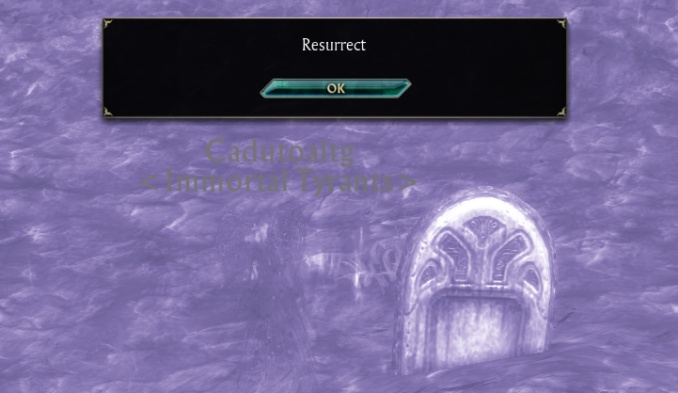
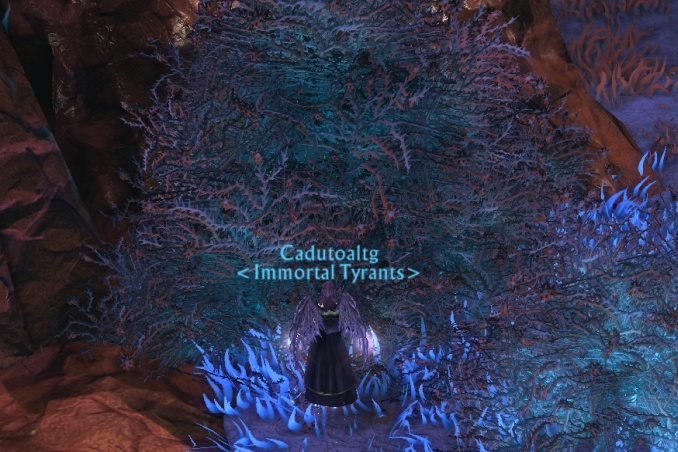
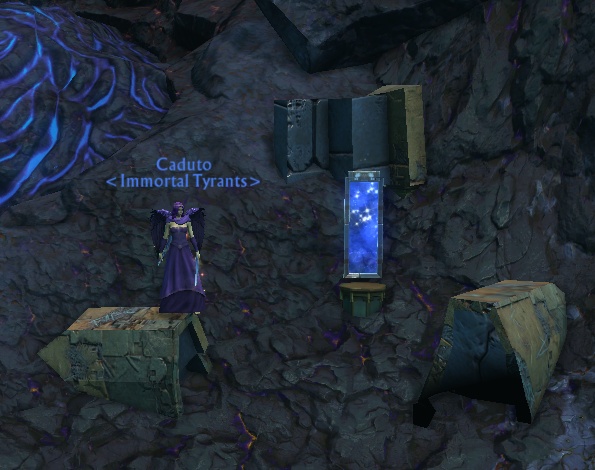
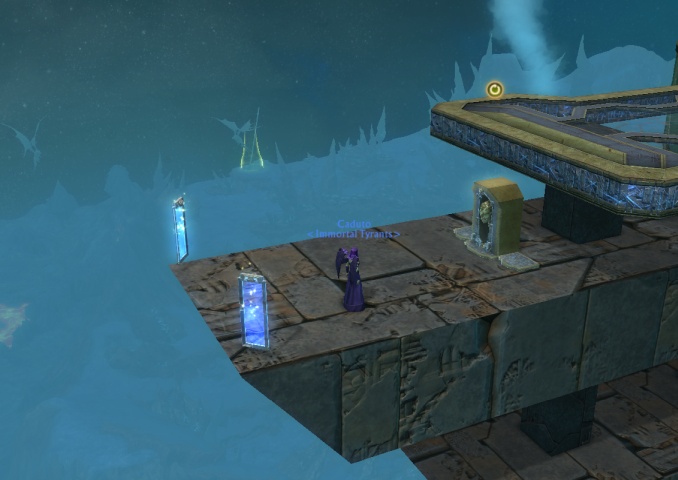
For this cheevo, you simply need to talk to 7 different NPCs. There is a catch however.. you can only ‘see’ the NPCs while you are dead! Not only dead, but dead and with the ‘resurrect’ window open..
The easiest way to do this is to walk up to the location where the NPC will be and then type /cast last resort this will instantly kill your character. (Or you can just agro some mobs near where the NPC will be and allow them to kill you as close to correct location as possible) When you are dead, hit respawn (soul walk wont work), this will take you to the nearest graveyard, then you walk while dead back towards where you died, there you will see your gravestone and the ‘resurrect’ window will pop up.. dont click it! Look at the location of the waypoint for the NPC and talk to him while you are still dead, this will tick the NPC off your list and you can then resurrect and continue to the next location.
For reduced travel times between the NPCs I recommend you complete the cheevo in the following order..
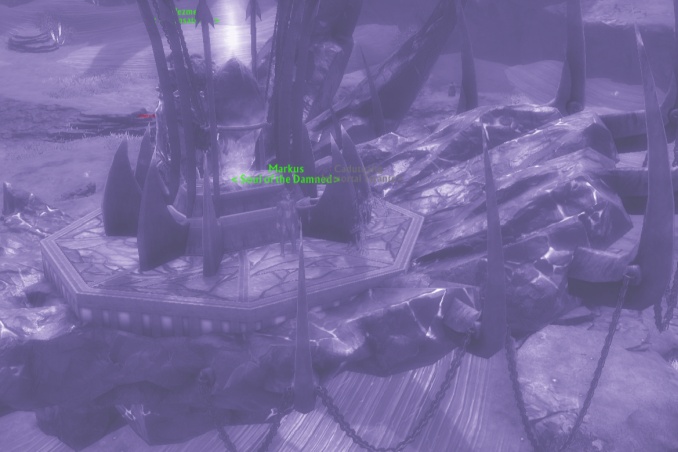
Markus
/setwaypoint 3558 4336 This one is on top of the shrine of decay, go to the top of the stairs and type /cast last resort, then walk back to the location while dead and talk to Markus
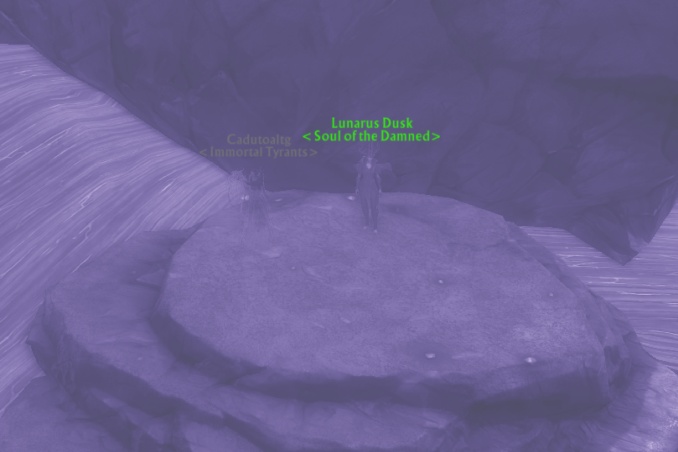
Lunarus Dusk
/setwaypoint 3536 4563 Type /cast last resort close to the location, then hit respawn and walk while dead back to the waypoint, you need to go up at /setwaypoint 3497 4527 and then talk to Lunarus Dusk.
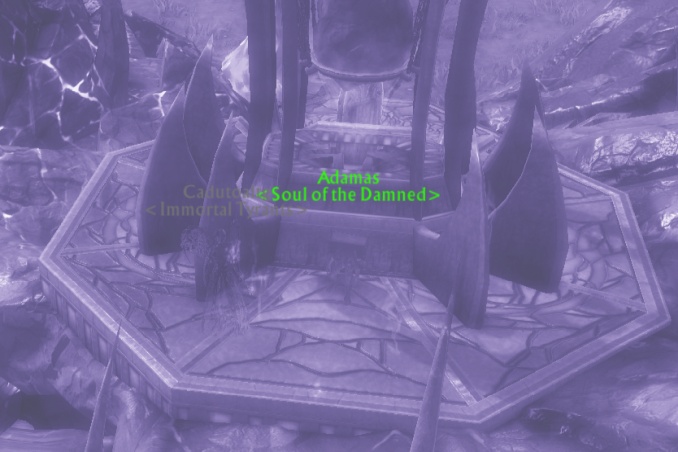
Adamas
/setwaypoint 3222 4485 Type /cast last resort on top of the shrine of dystopia, then walk back to the location while dead and talk to Adamas
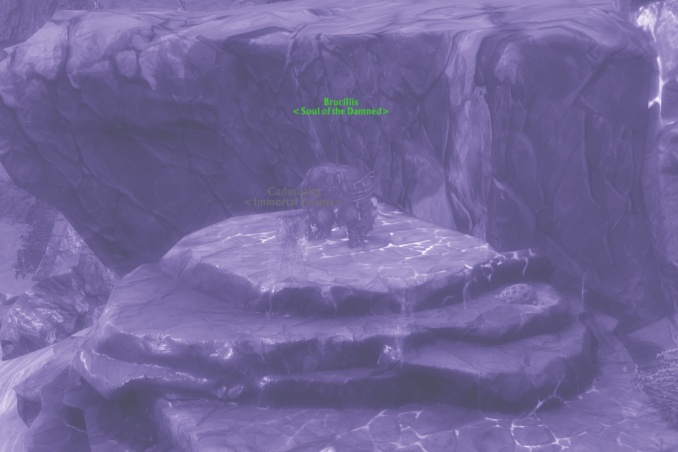
Brucillis
/setwaypoint 2414 4289 Type /cast last resort on the rock near the shrine of bloodlust, then walk back to the location while dead and talk to Brucillis
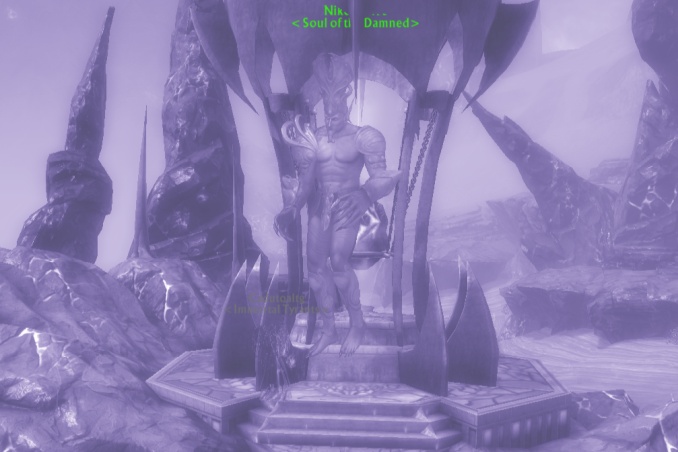
Nikodemus
/setwaypoint 2689 4004 Type /cast last resort on top of the shrine of hatred, then walk back to the location while dead and talk to Nikodemus
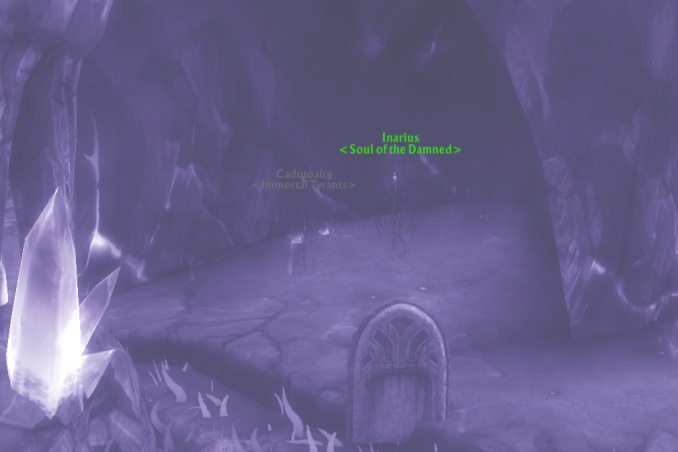
Inarius
/setwaypoint 2819 3540 This one is inside the little alcove/cave. Type /cast last resort close to the cave, then hit respawn and walk while dead back to the waypoint, talk to Inarius
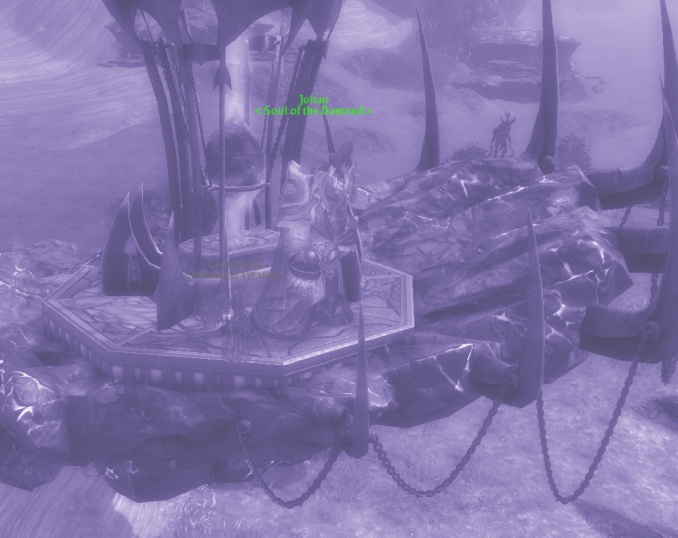
Johan
/setwaypoint 3162 3521 Type /cast last resort on top of the shrine of isolation, then walk back to the location while dead and talk to Johan
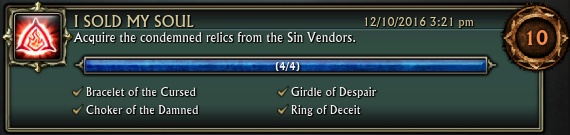
I Sold My Soul
At each waypoint will be a vendor who you need to buy each item from. The items you buy can be thrown away after you have the cheevo, they are not useful for anything else.
Bracelet Of The Cursed
/setwaypoint 3723 3944 The vendor called ‘Arno’ is hidden deep inside the hedge!
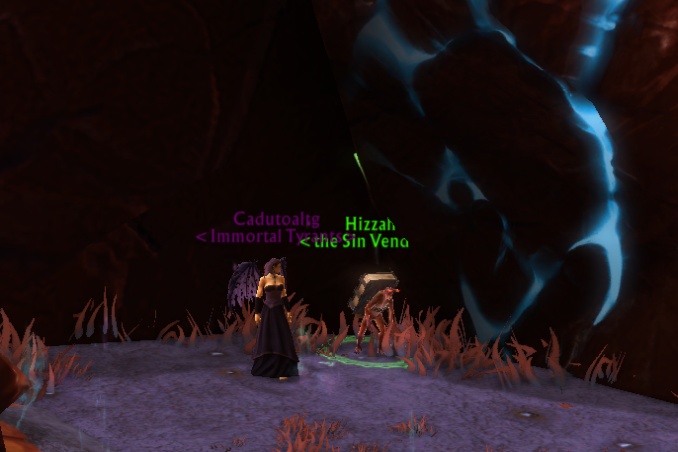
Choker Of The Damned
/setwaypoint 3315 4650 Make your way up the hill at /setwaypoint 3155 4533 The vendor called ‘Hizzah’ is tucked up in the rocks.
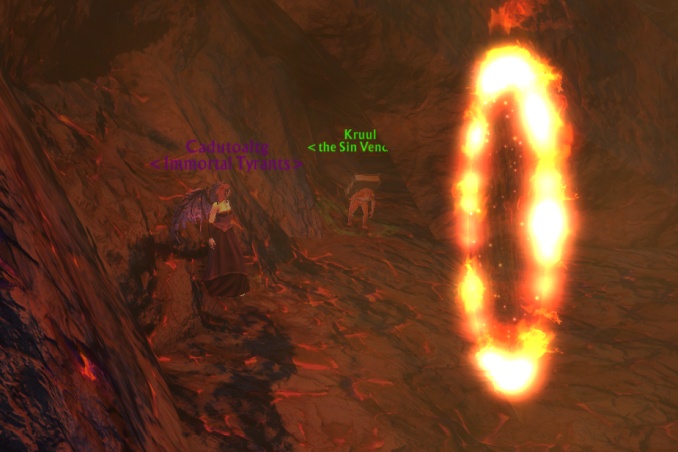
Girdle Of Despair
/setwaypoint 2180 4591 The vendor called ‘Kruul’ is tucked under a rock very near the LFR TD portal.. If you accidentally enter into the portal, just exit again once inside TD and try again!
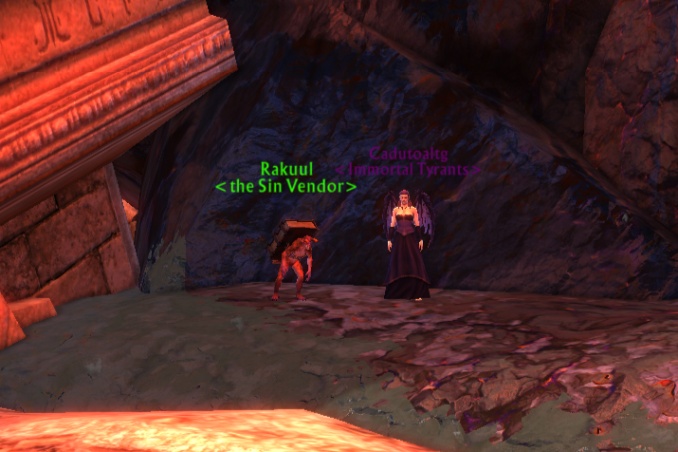
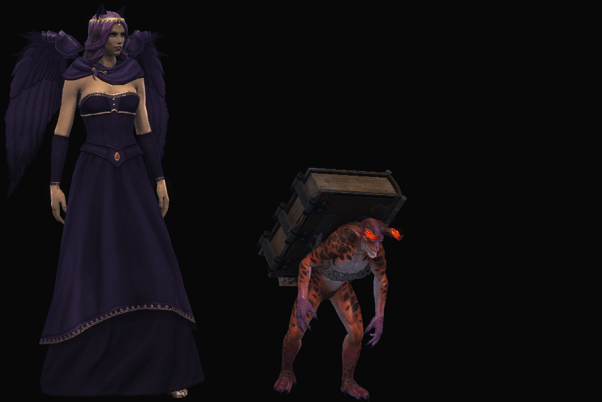
Ring Of Deceit
/setwaypoint 3236 5623 The vendor called ‘Rakuul’ is next to the lava lake.. to avoid a lot of pain, its easy enough to jump down from the bridge above at /setwaypoint 3250 5599
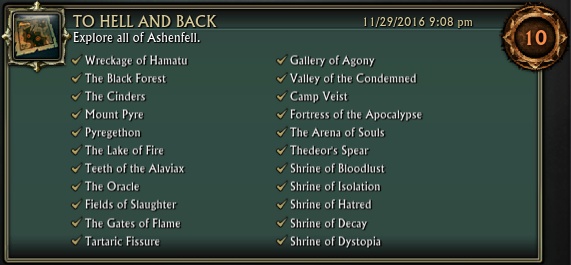
To Hell and Back
1. Wreckage of Hamatu- /setwaypoint 3319 5642 2. The Black Forest – /setwaypoint 3088 5456 3. The Cinders – /setwaypoint 2604 5407 4. Mount Pyre – /setwaypoint 2433 5341 5. Pyregethon – /setwaypoint 2641 5095 6. The Lake of Fire – /setwaypoint 2740 5103 7. Teeth of the Alaviax – /setwaypoint 3184 5093 8. The Oracle – /setwaypoint 3468 4591 9. Fields of Slaughter – /setwaypoint 2999 4474 10. The Gates of Flame – /setwaypoint 2870 4623 11. Tartaric Fissure – /setwaypoint 2410 4704 12. Gallery of Agony – /setwaypoint 3542 3992 13. Valley of the Condemned – /setwaypoint 2490 4353 14. Camp Veist – /setwaypoint 3139 5274 15. Fortress of the Apocalypse – /setwaypoint 2998 4424 16. The Arena of Souls – /setwaypoint 2905 3528 17. Thedeor’s Spear – /setwaypoint 2631 4293 18. Shrine of Bloodlust – /setwaypoint 2433 4286 19. Shrine of Isolation – /setwaypoint 3176 3508 20. Shrine of Hatred – /setwaypoint 2700 4000 21. Shrine of Decay – /setwaypoint 3575 4345 22. Shrine of Dystopia – /setwaypoint 3215 4500
Particle Acceleration
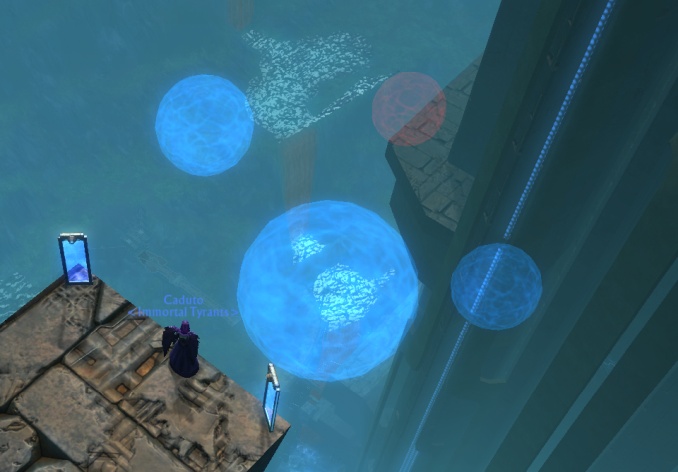
This cheevo/quest is actually located in Tenebrean Schism even though the cheevo is listed under Ashenfell. To get to the quest location, go into the Tenebrean Schism and head to /setwaypoint 4016 4807 Here you will find a ‘mirror’ to click that will teleport you up to the particle quest.
You will find yourself on a platform very high up in the sky, with two more mirrors and a quest daily to pick up. The quest daily is to capture 20 particles of cosmic energy. For the last stage of the eternal weapon quest and for the cheevo, you will need to pick up 20 particles.
When you click the mirror ‘charge realignment console’ you will be given a temporary ability bar..
On this bar will be your two main abilities..
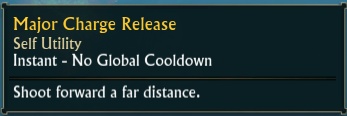
Major Charge Release This ability will shoot you forward a far distance.
Minor Charge Release This ability will shoot you forward a short distance.
Looking down over the edge of the platform you will see the first few orbs. You will notice there are BLUE orbs, that will add a particle to your character but there are also RED orbs that will take a particle away! There are a total of 25 blue orbs.. Which is 5 more than is needed to complete your weapon quest or to get the cheevo, this gives you a little bit of leeway. (It used to be that you had to collect all 25)
To start, you simply jump off of the platform.. preferably in the direction of that first blue orb.. Once you have collected it, swing to the left and hit button 1.. this will shoot you forward a far distance and you should land just above the second orb, allow yourself to fall through it to collect it, then swing to the right and shoot far forward again to land just above the third blue orb… and continue!
You will definitely be wanting to use your mouse to turn your character, keyboard movements are going to be far to slow, especially towards the bottom of the puzzle!
At the top of the puzzle, the particles are pretty well spaced out with very few red orbs , but as you near the bottom the orbs will be closer together with red orbs inbetween them.
Towards the top of the puzzle you can pretty much just use your ‘shoot far’ ability to land nicely just above each orb.
In the middle of the puzzle you will need to start using both abilities to be able to position your character correctly.
Towards the end of the puzzle you will need to constantly switch between the two abilities, micro-managing every movement to ensure you hit all the blues and none of the reds!
Look at the cooldown timers and press your next ability when the cooldown for the previous one is halfway.. this will ensure you keep travelling horizontally instead of vertically!
When you push 1 or 2, your ability will fire, you will shoot forward and ‘land’ and then begin to fall.. if you wait too long before pushing the next ability then you will start to fall waaaay too fast and will miss blue orbs.. you will soon get used to the timings with practice.
Try to ‘land’ just above the next blue orb, this is more difficult and sometimes impossible towards the very end of the puzzle.
When you are falling through the orb, turn your character with your mouse so you are facing the next orb (hold right mouse button down and turn your mouse)then hit your next ability to take you to the next orb as soon as your current orb has been collected.
LAG is not your friend here… reduce it as much as you can, turn off all other bandwidth stealing machinery in the house! Close every other program on your PC and experiment with turning down your graphics settings in rift, to hopefully give you as smooth a ride as possible!
GROUPING will not help here.. you will only get credit for orbs you hit yourself!
There are a lot of people out there who find this ‘puzzle’ very easy.. they will tell you that they got 25 in 2 tries and that if you cant do it then you don’t deserve the weapon upgrade (!!!) … just ignore them!
Here is a video of me capturing 25 particles..
…and here is 25 mins of out-takes before i got the 25 particles!!!