Cheevos found in H > Raids > Rift > River of Souls
Quick Links for Guides on This Page
Boss 1 – Warmaster Galenir Boss 2 – Herald Gaurath Boss 3 – Plutonus the Immortal Boss 4 – Alsbeth the Discordant Cheevos
General
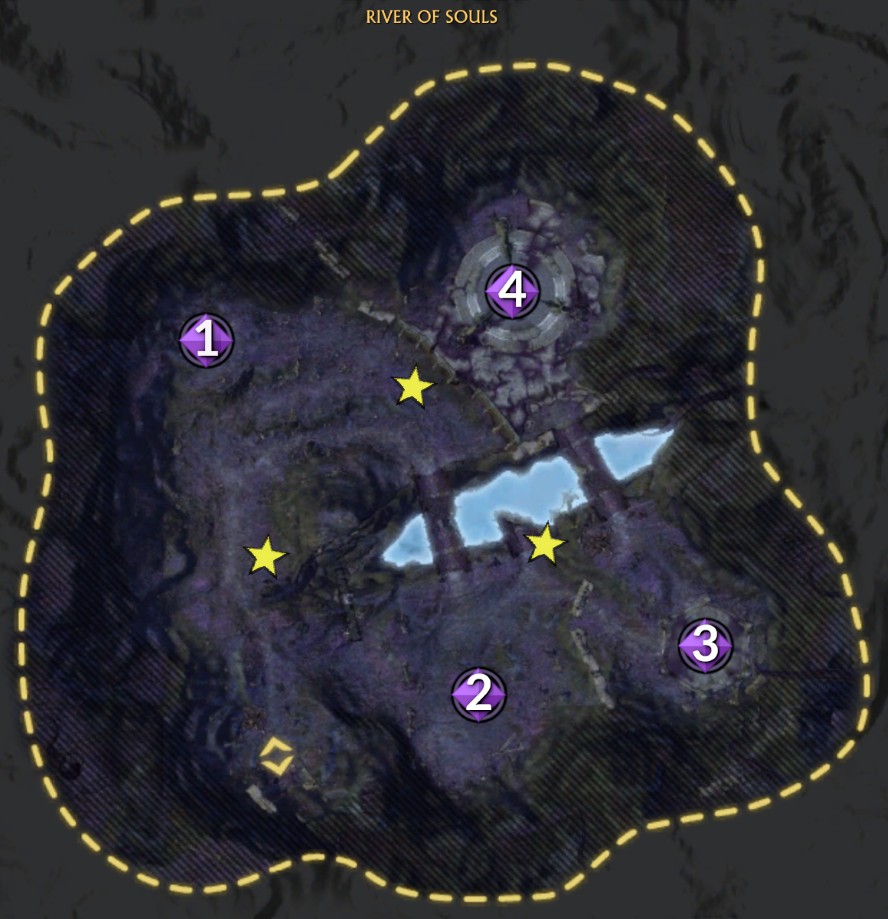
Location: Stillmoor, Mathosia
Waypoint: /setwaypoint 990 2708
Difficulty Tier: Tier 2 (Was originally tier 1 but was changed during Prime as there was no 20 man tier 2 — Gear was updated to tier 2 stats in March 2026)
Hit Requirement: N/A
Level of bosses: 52
Number of bosses: 4 (Plus 3 Foci)
Max Group Size: 20
Recommended Minimum Group Size for Level 70 cheevo run: 1
Solo at 70?: Yes
All cheevos while solo?: Yes – And you can get Conqueror in one run just by killing stuff as quick as you can.
You can enter this raid solo, you do not need other players in the group.
A group of level 70 players can easily kill everything in this raid.
This guide is mainly designed to show you how to get the cheevos.
If the content becomes ‘relevant’ again then I will expand the boss guides as needed and add more detail.
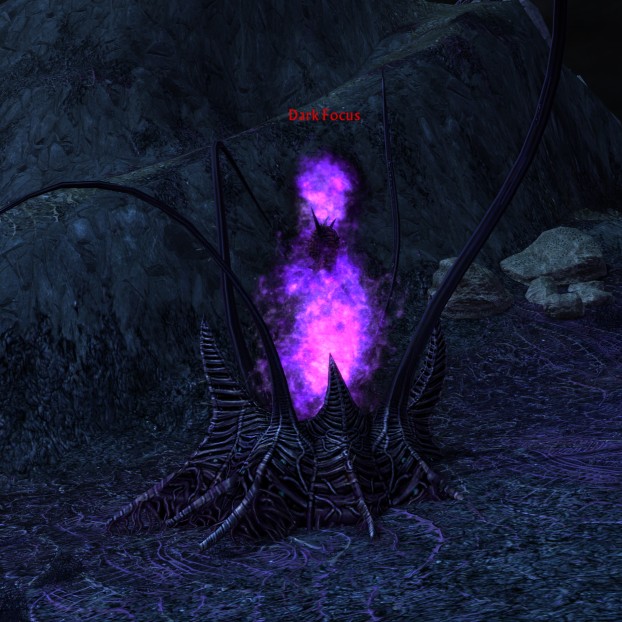
Dark Foci
For Level 70s
Level 70s can just smash these down, no problem.
There are 3 Dark Foci in River of Souls, You will need to destroy all 3 of them before the final boss will spawn. Dark Foci are footholds and will summon a few adds. They are considered to be easier than the main bosses, and were often farmed for Jewellery by raid groups that couldn’t kill the bosses yet.
Main Abilities
- Dark Beam – ST Big Heals – A single target channelled ability on a random raid member, does a ton of damage and will need a dedicated healer to heal through.
- Unhallowed Ground – Stay out the bad – An AoE on the ground that will hurt you if you stand in it.
- Call of Darkness – Adds to kill – Spawns the adds ‘Force of Corruption’ and ‘Corrupted Souls’.
- Destabilize Soul – Destroy Corrupted Souls then run away – Debuff cast on a random raid member that causes the player to grow in size and do pulsing AoE damage. The player must stand in the Corrupted Souls to kill them and then run away from the raid until the buff wears off.
Adds
Force of Corruption – These are Mini Foci that spawn near the big one. Needs to be killed before its 10 second cast goes off or it will wipe the raid, as soon as this spawns all DPS need to target it and burn it down. This happens every 60 seconds.
Corrupted Soul – These souls spawn on random raid members. They drain mana, energy, and power from anyone in range of it every second, they need to be gathered up by the off tank and taken away from the raid to be killed by the player affected by Destabilize Soul.
Basic Tactics
It is best to clear all trash in the area before pulling the Foci so there are no nasty surprises halfway through the fight.
DPS and Heals should spread out a bit, this is to avoid all the Corrupted Souls from spawning in one spot.
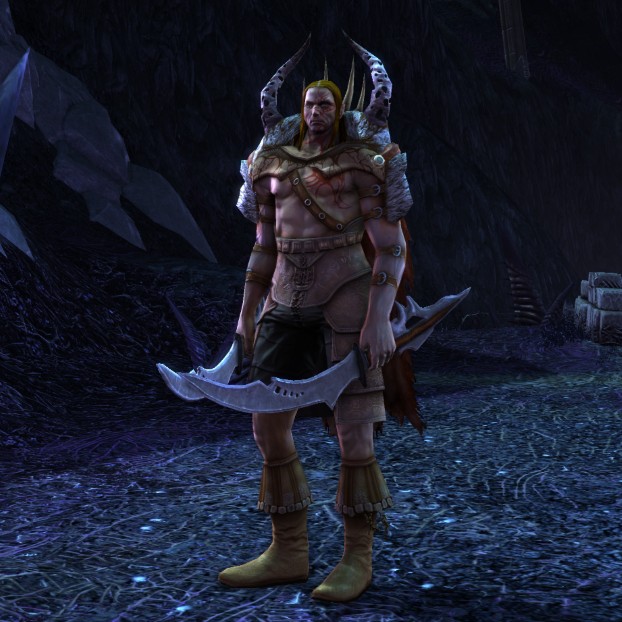
Boss 1 - Warmaster Galenir
For Level 70s
A level 70 player can easily kill this boss solo.
Main Abilities
- Infecting Strike – Tank Swap – Stacking debuff applied to the tanks, if the stack reaches 10 the tank will explode, killing everyone nearby.
- Rend Flesh – Cleanse – Dot placed on a random player that should be cleansed.
- Charge – Positioning – Warmaster Galenir will charge the farthest 2 raid members from him and applies Discordant Contagion, will charge 4 times before returning to the tank. Be sure to allocate specific players to stand away from the raid to be charge targets.
- Discordant Contagion – Cleanse – Cleansable debuff that does damage and stacks up to 5 times if not cleansed, will also spread Discordant Infection to anyone near the affected player.
- Discordant Infection – Cleanse – Cleansable debuff that causes damage over time, applied by standing close to a player affected by Discordant Contagion.
- Howl of Empowerment – Big Heals – Causes raid wide AoE damage.
- Deadly Barrage – Big Heals – Raid wide AoE damage every 10 seconds.
- Essence Transfer – Stop DPS – Debuff cast on a random raid member, the affected player needs to stop doing everything and just stand still; any ability the player uses will heal Warmaster Galenir.
Basic Tactics
Positioning is everything! It should be planned out before the pull, you will need to allocate 2 raid members to stand as the other two points on a triangle.
Two tanks are needed; they must swap before their stack of Infecting Strike reaches 10. The first swap should be made at around 6-8 stacks and once the stacks wear off the tanks should swap again. Keep this up throughout the entire fight. The tank waiting for the stacks to wear off needs to stay behind the boss stacked with the rest of the raid to make sure their stack does not get refreshed.
Two raid members with a cleanse, preferably chloros, -icars, or the Bard, need to stand on either side of the raid facing each other. They must be maximum distance from Warmaster Galenir. When Warmaster Galenir does his Charge ability he will charge the farthest raid member and apply Discordant Contagion on them. They can cleanse themselves and be far enough from the raid that it does not spread. Sometimes Warmaster Galenir will hit a raid member or tank with Discordant Contagion. If it gets cleansed quickly it will not spread, if not it will spread throughout the raid and do heavy excess raid damage. It can be healed through if the raid is well-geared.
The remaining raid members all need to stack up very closely behind the boss; this will help maintain the distance needed for the Charge and keeps everyone close enough to receive raid healing.
During the fight, Essence Transfer will be randomly put on a raid member. There will be a warning message on the screen with the player’s name. If the affected player uses any ability during the debuff it will heal Warmaster Galenir. The debuff lasts 25 seconds and is almost immediately cast on another raid member after it wears off the last.
Throughout the encounter, Warmaster Galenir will transform into a Werewolf. He will continue to use all of the abilities used while in Human form with the addition of a raid wide debuff that increases ability costs by 25%. He casts Howling Death every 10 seconds, AoEing the entire raid, and he will summon the Mote of Calm. The Mote of Calm needs to be pulled close to Warmaster Galenir and DPS’d as fast as possible. Once the Mote of Calm is dead it produces a pulsing bubble that returns Warmaster Galenir to Human form.
The fight continues with Warmaster Galenir swapping forms until his health is at 15% at which time he remains in Werewolf form and the Mote of Calm is not spawned. All DPS need to burn him at this point. Remember during this period abilities will cost an extra 25% energy, so the bard and archon need to make sure their regens are off of cooldown for this burn phase and raid members should make sure to have a regen or pot available if needed.

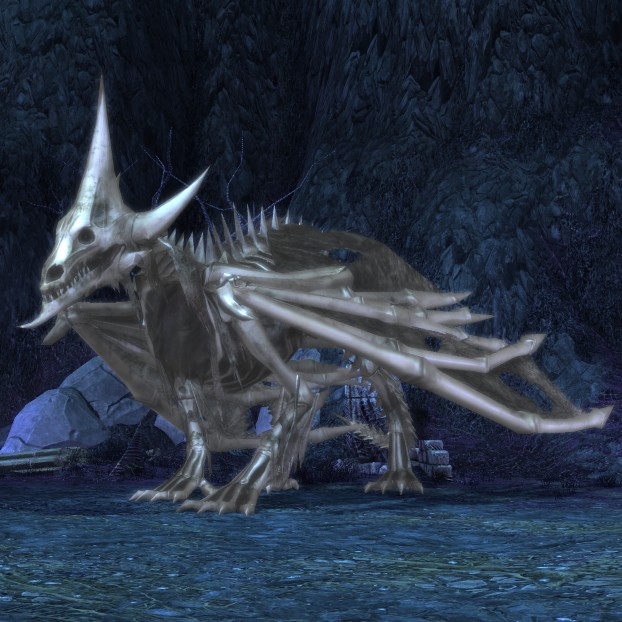
Boss 2 - Herald Gaurath
For Level 70s
A level 70 player can easily kill this boss solo.
Main Abilities
- Breath of Void – Stack at the side of the dragon – Frontal cone that deals damage for 4 seconds.
- Crushing Tail Swipe – Stack at the side of the dragon! – Deals damage to players near the tail.
- Miasma of Suffering – Stack at the side of the dragon!! – Frontal cone dealing damage per second for 5 seconds, cast at the beginning of each air phase.
- Tidings of Woe – Stack up – Spawns an orange swirl around a random raid member, their name will be broadcast in the alerts, raid members (except for the tanks) need to stack on this player to help soak the damage, happens at the end of every air phase.
- Icon of Herald – Stay out the bad – Spawns during the air phase with Tidings of Woe, forms a large pulsating purple bubble on the ground that is 20m wide and deals damage per second to anyone inside the bubble, the entire raid needs to move out of this effect.
- Raise the Dead – Kill the adds – Spawns two crypts, each targeted on a random raid member, the green crypt will spawn 2 Ancient Defiler adds, the red crypt will spawn 1 Ancient Cutthroat and 1 Ancient Executioner, 1 Indomitable Horror will also spawn.
Adds
- Indomitable Horror – A Third Tank! – Spawns during Raise the Dead, needs to be picked up by the third tank, can be tanked off to the side or brought in with the other adds and AoE’d down.
- Ancient Defiler – Needs Rupting – Spawns 2 at a time from the green crypt during Raise the Dead, casts Defiling Storm; which deals damage to the entire raid but can be interrupted, Bolt of Suffering; which deals damage to the highest threat target but can be interrupted, and Impending Doom; when their health reaches 10% they will explode dealing damage raid wide.
- Ancient Executioner & Ancient Cutthroat – Spawns from the red crypt during Raise the Dead, both cast Void Curse; which usually targets the highest threat player dealing damage and places a debuff on them that increases damage from Herald Gaurath by 100% per stack (cannot be cleansed), Voidbound Rage; a buff increasing their own auto attack damage, and Impending Doom; when their health reaches 10% they will explode dealing damage raid wide.
Basic Tactics
It is recommended to bring 3 tanks to this fight. The main tank will tank Herald Gaurath, the first off tank will tank the Ancient Defilers, Ancient Executioners, and Ancient Cutthroats; the second off tank will tank the Indomitable Horror. The main tank and the first off tank will need dedicated healers, the second off tank will be fine receiving AoE heals and can be spot healed.
Ground Phases
The main tank should tank Herald Gaurath where he stands; this will start the first ground phase. The rest of the raid needs to stack up on Herald Gaurath’s back left leg. As soon as Raise the Dead goes off and both crypts appear, the raid needs to move as a group to the back right leg. This will give the off tanks time to pick the adds up before they reach a healer or bard. There should be no DPS except on Herald Gaurath until the adds are picked up. Note that sometimes one of the crypts will drop on the main tank, the adds need to be picked up within 3 seconds if this happens to avoid the main tank getting debuffed with 100% more damage taken. Once the adds are picked up, the off tanks should position them under Herald Gaurath.
The adds need to be marked and killed in the following order: the Ancient Defilers need to be killed first and second, the Ancient Cutthroat third, and the Ancient Executioner fourth. All DPS should do single-target damage on the first add, then AoE off the remaining adds in kill order so they do not all die at the same time or the raid will wipe from the damage inflicted by Impending Doom. The adds positioned under the boss should be providing enough AoE damage on Herald as well. The Ancient Defilers need to be silenced or interrupted so a Defiling Storm does not get off. Once all of the adds are dead continue to DPS Herald Gaurath, if the Indomitable Horror does not die don’t worry, it does not do much damage and the off tank should be able to handle a few of them with no problems.
Air Phases
The next phase is the air phase. This is just like the ground phase where Herald Gaurath does Raise the Dead except that he rises into the air and does two other abilities. Again, the raid will switch legs when the crypts appear. Once the off tank picks up the adds, the entire raid needs to make sure to stay together. The main tank needs to back up about 15-20 meters and pull Herald Gaurath with him. Herald Gaurath will target a player and apply Tidings of Woe and Icon of Herald. The raid needs to move quickly out of the large purple ground effect from Icon of Herald or they will take damage. The raid needs to move together to survive Tidings of Woe, while moving forward to Herald Gaurath’s back left leg; a meteor will fall on a random player creating an orange swirl effect. If everyone stays together the damage will be spread among the raid. This transition is very difficult; the AoE damage is immense. Healers need to make sure they are ready for this by saving big cooldowns and convictions. Once everyone is safely in place, continue to kill the adds in order while AoEing Herald Gaurath.
Keep this pattern up until Herald Gaurath is dead. With moderate DPS he can be killed by the 3rd air air phase. If a 4th air phase is reached, Herald Gaurath will hit his enrage timer by the time he lands. Get all DPS to burn him.
Boss 3 - Plutonus the Immortal
For Level 70s
A level 70 player can easily kill this boss solo. You will get stunned and walk around in a trance a few times, so be sure to position yourself away from the bad beams.
Main Abilities
- Shocking Cipher – Big Heals – Cast every 25 seconds, from the centre pillar, on a random raid member through the entire encounter, the player (and anyone close to them) will take damage equal to 80% of their total health.
- Walking Sleep – Cleanse – Cast every 30 seconds on a random raid member dealing damage and confusing them, this needs to be cleansed as quickly as possible to avoid the affected player walking into a lightning field, also occurs throughout the encounter.
- Thunder Clap – Stay behind the boss – Cleave that does damage to the tank and also breaks the Galvanic Focus.
- Shattered Artifact – Big Heals – AOE dealing damage to the entire raid, triggered when a Galvanic Focus is destroyed by Thunder Clap.
- Demolishing Wave – Keep his energy low – Channelled spell dealing damage every second until the raid wipes, triggered if Plutonus the Immortal’s energy reaches 100%.
- Unstable Crystal – Big Heals – Triggered when a player clicks on one of the crystals in the room; stuns the player and applies a DoT that deals 120%-150% of the player’s health over 5 seconds.
- Ravenous Strength – Kill him quick! – Damage buff applied to Plutonus the Immortal when his health reaches 10%.
Basic Tactics

The room is a hexagonal platform, make sure everyone in the raid is on the platform before the pull or they will be locked out. There are 6 Galvanic Foci positioned around the platform. The tank needs to pull Plutonus the Immortal half way between the centre pillar and the first Galvanic Focus and wait for 2 Shocking Cyphers to go off, which is about once every 25 seconds. Once the second Shocking Cypher has gone off and the raid is healed back to full, the tank needs to pull Plutonus to the Galvanic Foci until Thunder Clap breaks it, which will drop his energy down and trigger Shattered Artifact doing raid-wide damage. If his energy bar reaches 100%, Demolishing Wave will be triggered and wipe the raid. The tank should now start bringing Plutonus close to the next Galvanic Foci, repeat this process until his health gets close to 50%. Occasionally throughout the fight Plutonus will put up a damage absorption shield that needs to be DPS’d down quickly.
Every 30 seconds during the encounter, a raid member will get hit with Walking Sleep. This needs to be cleansed immediately to make sure the player does not hit a lightning field, die, and heal Plutonus. Any time a player dies or hits a lightning field, the boss will get healed for a good amount. The ranged players should stay a sector behind the tank. Once a Galvanic Focus is broken, the lighting field will no longer appear along the crystals that run to it.

Once Plutonus’ health reaches 50%, he can no longer be taken to the Galvanic Foci due to the lightning field that surrounds the perimeter of the room. It will begin to change shape and close in on the raid. At this point the tank needs to bring Plutonus the Immortal to the centre pillar while the rest of the raid stacks close behind him so they do not get cleaved. The shape of the lightning field will change every 10% of Plutonus’ health for the remainder of the fight; 40%, 30%, 20%, 10%. Once Plutonus reaches 10% health he gets a damage buff and the lightning field closes in until he is killed or the raid is wiped.
During the last 50%, a designated player needs to click on crystals to lower Plutonus’ energy. Rogues are the best choice for this job as they can teleport through the lightning field without taking damage or healing the boss. After using the crystal, it will channel a cast to Plutonus and the player cannot move until the channel is complete. The dedicated crystal clicker will need a dedicated healer during this phase. As soon as a crystal is clicked, Unstable Crystal is cast on the clicker which stuns them and does a DoT for 120%-150% of their heath over 5 seconds. The clicker needs to pay attention to Plutonus’ heath and not click a crystal close to 40%, 30%, 20%, or 10% to avoid the lightning field changing and killing them.

When Plutonus reaches 30% health he needs to be moved toward the back of the platform away from the road. This is where he is tanked and killed. The tank needs to have his back against the crystal on the left corner of the lightning field; Plutonus and the raid should be close to the lighting field edge so there is time to burn him down before it completely collapses. Healers need to be ready to cleanse Walking Sleep immediately now or the affected player will almost certainly walk into the lightning field. AoE healing gets intense during the last 10% as well so make sure to have convictions, pots, etc.

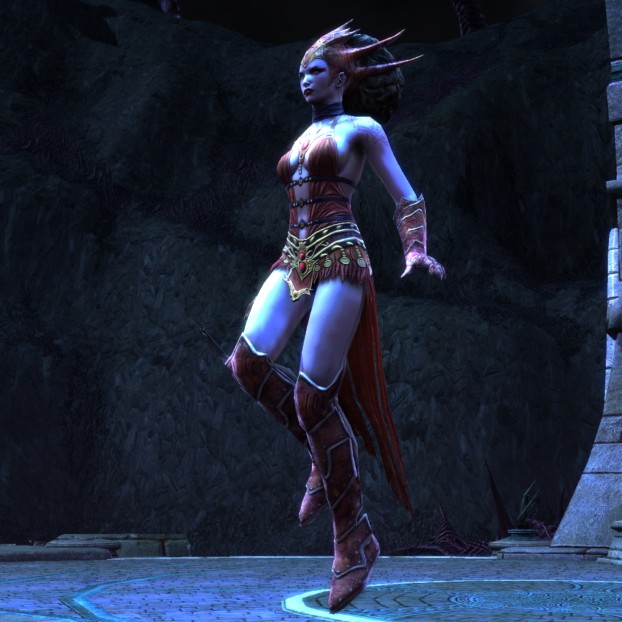
Boss 4 - Alsbeth the Discordant
For Level 70s
A level 70 player can easily kill this boss solo. She will stop taking damage at 20% and then heal up to full and place a shield around her. Just wait for the shield to drop off and kill her.
Main Abilities
- Grave Bolt – Tank Swap – This ability does damage and places a stacking debuff on the tank that increases death damage taken by 1% per stack (max 30).
- Reaving Discord – Stay behind the boss – Cleave attack
- Chain of Discord – Spread Out – Deals damage to a random player then chains to others standing close doing damage to everyone it hits.
- Punish Soul – Run Around! – A debuff that puts a purple swirl effect on the affected player, the player must move constantly for the duration of the debuff or they will take significant damage very quickly and die, cannot be cleansed.
- Discordant Meteor – Stack to Soak – From second phase onwards, places an orange swirl effect on a player and prevents them from being able to move, at least 5 raid members need to stack on the affected player so when the meteor hits the damage is spread between everyone.
- Discordant Shield – Purge – From third phase onwards, a reflect shield that will bounce all damage back to the attacker, all DPS must stop attacking until the shield is gone, it can be purged!!
- Discordant Ground – Stay out of the bad – From third phase onwards, a ground target AoE that deals damage to anyone standing inside of it, a yellow graphic marks this effect.
- Discordant Blast – Stay out of the bad – From third phase onwards, a ground target AoE that will instantly kill anyone that stands inside of it, a red circular graphic marks this effect, from the time it shows up, players have only a few seconds to avoid it.
Adds
- Fallen Guardian – Spawns during the first and second phases and has melee attacks and a nasty cleave.
- Fallen Defiant – Spawns during the first and second phases and has ranged attacks.
- Discordant Energy – Spawns during the second and third phases, when these die they spawn crystals that need to be picked up and taken to an active Discordant Pillar.
- Discordant Pillar – Have a shield that prevents all damage, players need to bring the crystals dropped from the dead wisps to the Discordant Pillars to deactivate the shield so the Pillar can be killed.
- Soul Harbinger – A white add that places a stacking debuff on the tank, once the stack reaches 10 the raid will wipe.
- Soul Thief – A black add that places a stacking debuff on the tank, once the stack reaches 10 the raid will wipe.
- Soul Magus – A grey add that uses the Chain of Discord ability dealing damage in a chain reaction to several players that are close together, also casts Soul Destru.ction which will instantly kill a randomly targeted raid member, so it needs to be interrupted.
Basic Tactics
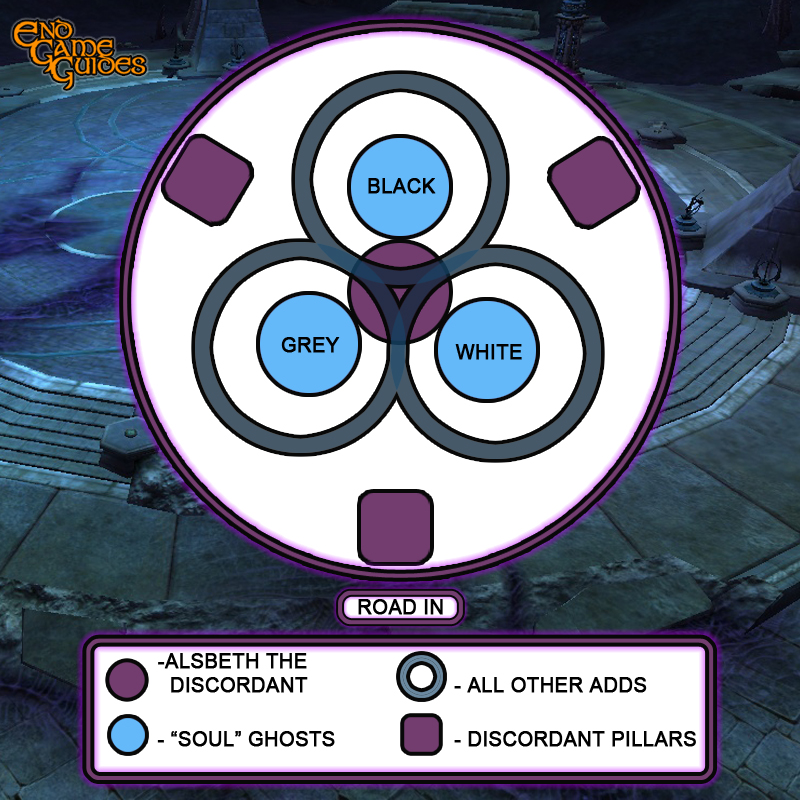
Alsbeth the Discordant will be tanked in place, she does not move from her starting position except to rise straight up, triggering phases. She needs to be turned away from the raid; all raid members need to pay attention to which way she is facing throughout the fight for there is quite a lot of movement. The raid needs to spread out as much as possible to avoid taking too much damage from the Chain of Discord.
As soon as the Fallen Guardians and Defiants spawn, the other 2 tanks need to pick them up; there will be 3 in all. These can be placed near Alsbeth and AoE’d down or held off to the side while everyone focuses on her alone. About 45 seconds into the encounter, Alsbeth will become immune and rise into the air beginning the first air phase.
For the first phase, 1 random “Soul” ghost will spawn on one of the three circles inside the room, 3 Discordant Energies will spawn (one by each circle), and 1 Discordant Pillar.
The first two phases are pretty easy; the third becomes a little more hectic though. Just remember what each add and ability does and what the raid needs to do.
The “Soul” ghosts:
Soul Magus (Grey) – MUST INTERRUPT SOUL DESTRUCTION! This add has to be interrupted and killed first.
Soul Harbinger (White) – MUST TANK SWAP BEFORE REACHING 10 STACKS! If the debuff hits 10 stacks the raid will wipe.
Soul Thief (Black) – MUST TANK SWAP BEFORE REACHING 10 STACKS! If the debuff hits 10 stacks the raid will wipe.
The Discordant Energies needs to be killed in order to get the crystals they drop. Once the crystals drop, raid members must pick them up and bring them to one of the Discordant Pillars in order to break the shield. Once the shield is down, kill the Discordant Pillar. It is best to assign certain players to grab and return the crystals to make sure it is done.
During the fight, random raid members will be affected with Punish Soul. There will be a purple swirl effect around them. They need to move constantly while this debuff is on them or they will take too much damage too quickly to heal through. Usually right after Punish Soul is placed on a raid member, another player will be affected by Discordant Meteor. This debuff will lock the player in place preventing them from moving. At least 5 other raid members need to collapse onto this player. A meteor will fall onto the affected player and the damage will be spread throughout everyone standing in the effect. There will also be random yellow and red ground effects that the entire raid needs to avoid. Fallen Guardians and Defiants will also continue spawn on top of the other adds each phase.
Phase 2
During the second phase, 2 of the “Soul” ghosts will spawn, 6 Discordant Energies will spawn (2 by each circle), and 2 Discordant Pillars.
The first and second phases will cycle back and forth until Alsbeth is pushed into the third phase.
Phase 3
The third and final phase will be triggered when Alsbeth’s health reaches 20%, all 3 “Soul” ghosts will spawn, 9 Discordant Energies (3 by each circle), and 3 Discordant Pillars.
During the third phase, the Discordant Energies need to be killed ASAP. Alsbeth will be inside the Discordant Shield which reflects all damage back to the attacker. Once the shield drops, players with crystals should run in and each crystal will deal significant damage to her. Once the shield is down burn her until she puts it up again. Rinse and repeat until she is dead. The Discordant Shield can be purged off of her so this phase is rather easy. There will be a lot of raid wide damage that needs to be AoE healed though. As long as there are enough raid heals it is an easy win.
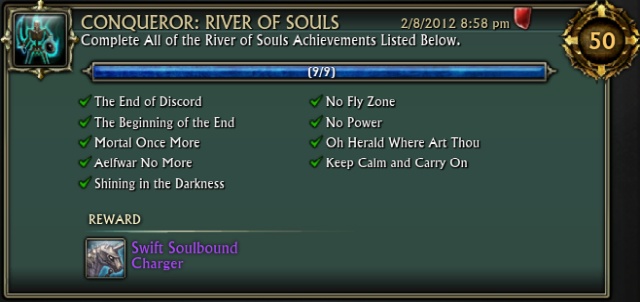
Achievements Available
Conqueror: River of Souls
Complete all the cheevos!
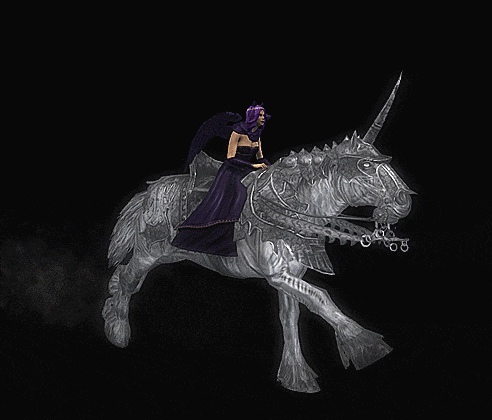
Completing this cheevo will grant you the Swift Soulbound Charger Mount.
River of Souls
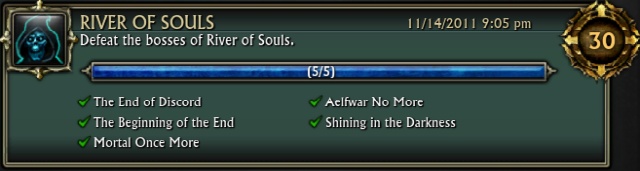
Kill all the bosses
Rapid Assault: River of Souls
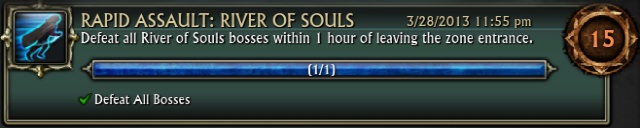
Kill all the bosses within 60 minutes.
Take me to the River
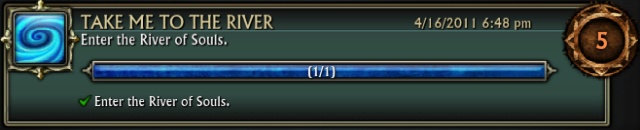
Just walk in to the door!
Dark Foci
Shining in the Darkness
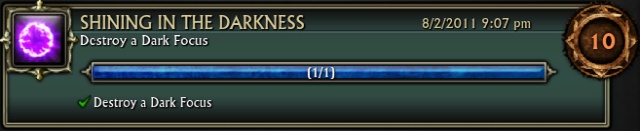
Kill a Dark Focus.
Warmaster Galenir
Aelfwar No More
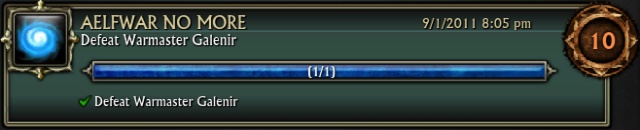
Kill Warmaster Galenir
Keep Calm and Carry On
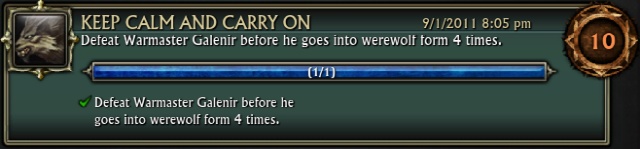
Kill him quickly!
Warmasters
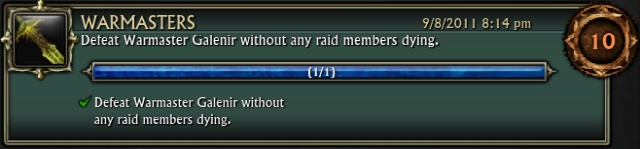
Don’t die.
Herald Gaurath
The Beginning of the End
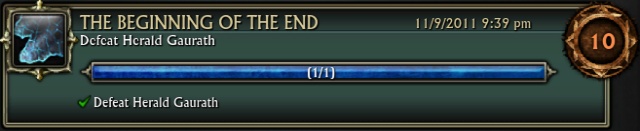
Kill Herald Gaurath.
Oh Herald Where Art Thou
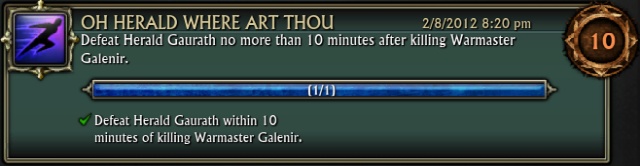
You may need to prep for this one by killing all the trash up to Herald and then going back to kill Warmaster and running straight to Herald to kill him after.
Heralding Doom
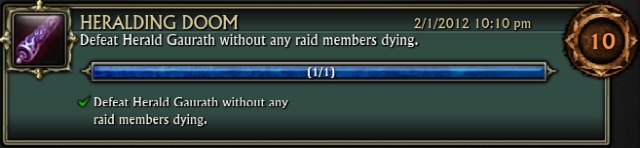
Don’t die!
Plutonus the Immortal
Mortal Once More
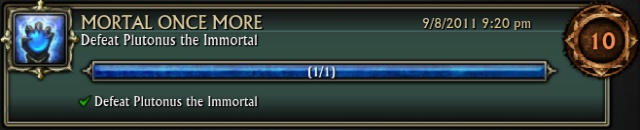
Kill Plutonus the Immortal.
No Power
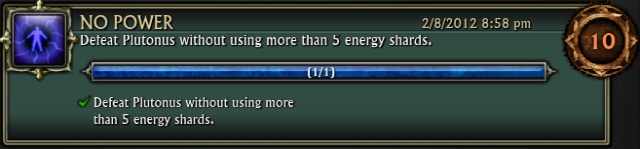
With high DPS this should be possible. Make sure the player picking up crystals know not to pick up more that 5.
I Am Immortal
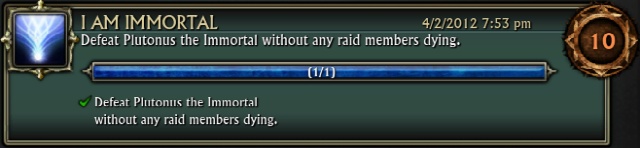
Don’t die!
Alsbeth the Discordant
The End of Discord
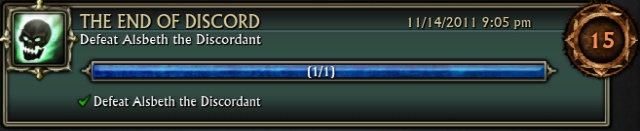
KillAlsbeth the Discordant.
The Discordant
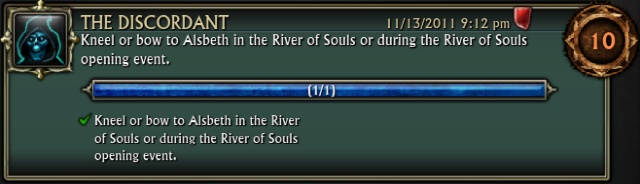
Target Alsbeth and /kneel or /bow
Note this now works all the time, there is no timed event to wait for.
No Fly Zone
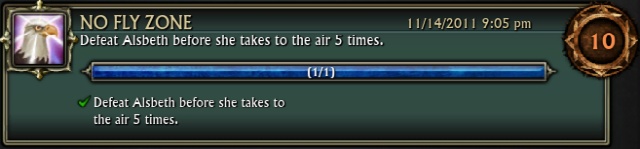
Kill her quickly!
Alsbeth That Ends Well
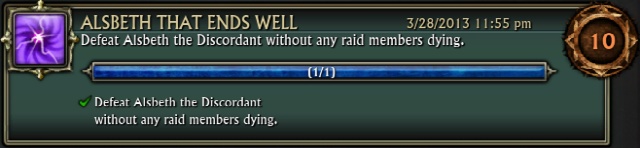
Don’t die!