Moving your castle to a different plot of land used to be a brutal affair, with many trips required across the map to be able to move all your items.
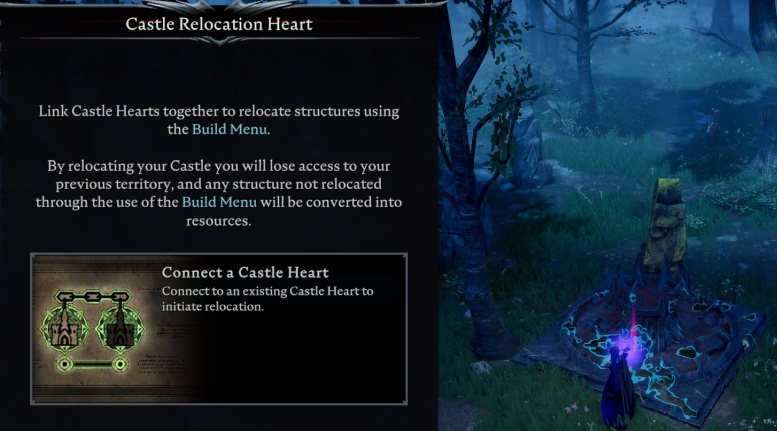
The item ‘Castle Relocation Heart’ has been created to make this much easier! It also enables you to keep all your servants and prisoners from your previous castle.
Unlock the ability to build Castle Relocation Heart by completing the quest ‘The first book in the library’.
To start the Relocation process, leave your current castle as it is, head over to a new plot of land with just 100 Blood Essence to build your Castle Relocation Heart.
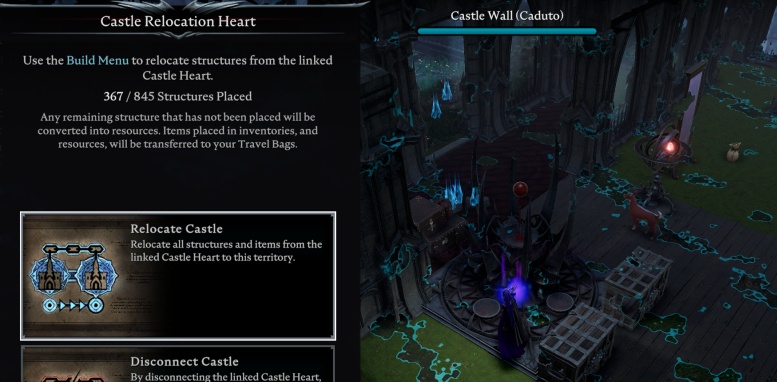
Interact with the Relocation Heart and you will asked to link it to another heart that you own on the map. Select the castle heart that you want to transfer and the process will begin. You will be able to cancel the process at any time by interacting with the heart again and selecting to cancel.
Note: Once the Relocation Heart is down you wont be able to leave your new plot until you are finished building and have transferred your castle. Leaving the plot will cancel the transfer.
After you start the process you will be given a quest to relocate. It will ask you to place Mandatory Structures and Some Travel Bags.
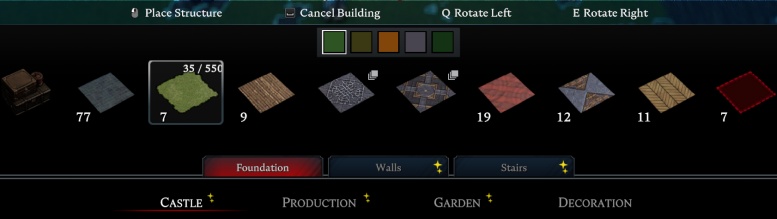
Open up the build menu and build each item until they are all greyed out, you don’t need to lay out your castle perfectly at this point, you can just chuck stuff down to get it over here!
In the castle foundation menu you will see the travel bags, place these to hold all your items during the move.
Mandatory items include..
- All Chests – Even empty ones
- Servant Coffins
- Prisons
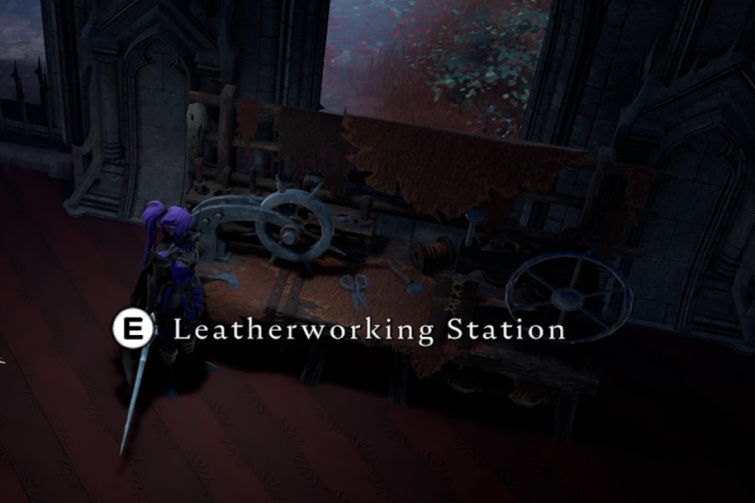
- Crafting Stations
- The Travel Bags!
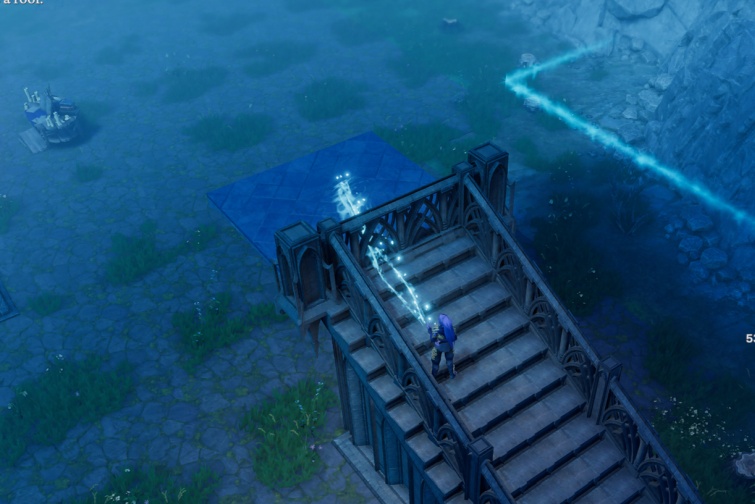
As you build, you will notice that the items are not ‘visually complete’. Only when you click to finish the relocation will your items be properly built and moved over.
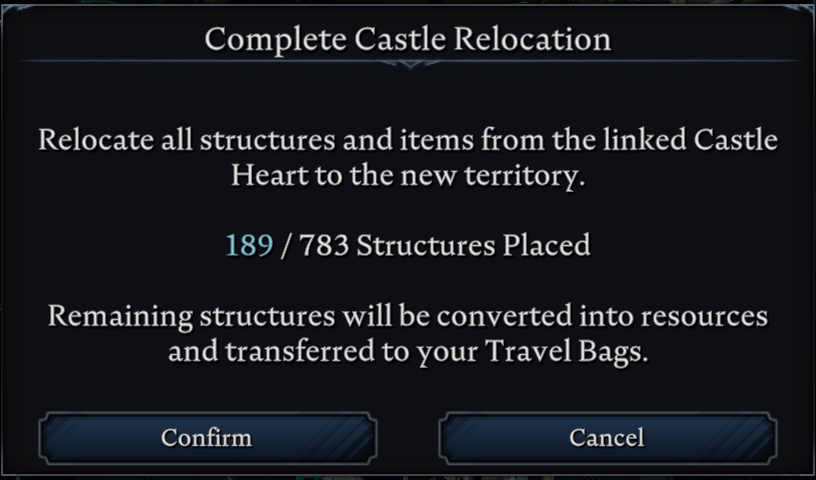
When you have placed every item, go back to the Relocation Heart and finish the Relocating process.
All items that were not part of the Mandatory selection will be broken down into their materials and placed in the travel bags. Your old plot of land will now be completely clear of all items, ready for its next owner!
Hint: Bigger castles will have a lot of Mandatory items, this can make it more difficult to move! It may be best to demolish many of the structures in your original castle, so that the materials get moved over for you rather than the structures themselves. Some players may prefer to completely rebuild their entire castle in the new plot before hitting the button to transfer, its up to you! The Travel Bags count as a Mandatory item!
Note: The Travel Bags will mostly have the materials used to create the walls, floors, windows, and doors that you did not rebuild, as well as seeds from the garden! The Travel Bags will disappear once you have emptied them.